



Instructions for our leather repair & cleaning kits
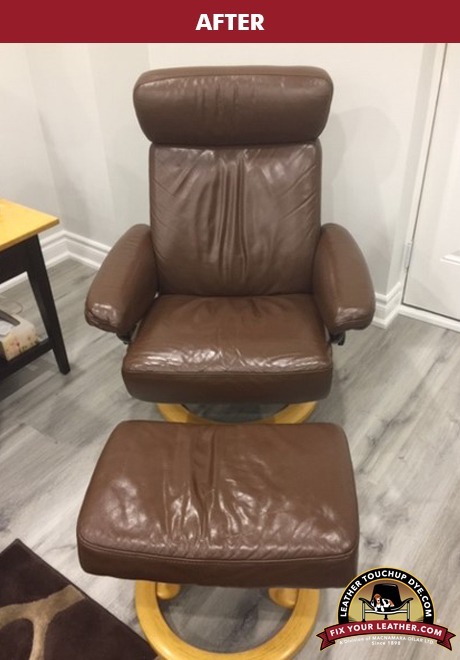
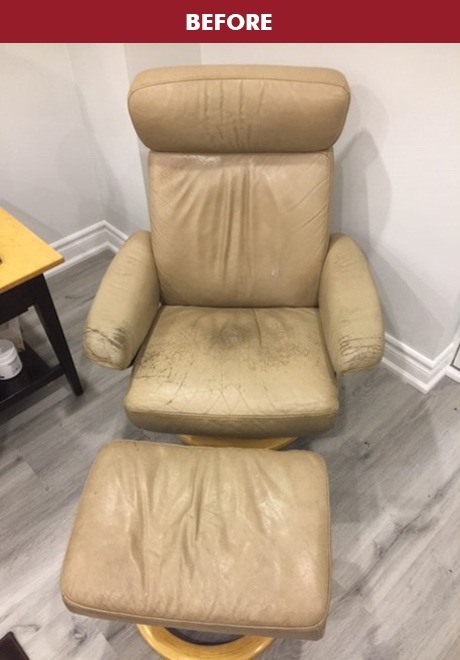
Leather Dye & Sealer
Leather Dye & Leather Sealer Kit Instructions:
All of our leather dyes are the premium quality, professional grade.
- Clean using our “Professional Leather Cleaner” for proper leather dye adhesion. Spray cleaner onto the cleaning cloth and wipe down leather – for heavy dirt, spray cleaner on leather and let sit for 15 sec- wipe off with cloth – let dry or use hairdryer to speed up process. (For heavy soil repeat cleaning.) *If some areas feel waxy or oily after cleaning (areas on leather that had been saturated from body oils etc.) wipe those areas down with 70%-99% rubbing/isopropyl alcohol and a t-shirt wipe to remove sticky finish or oils. Depending on severity may have to be repeated until area feel dry of oil. Failure to remove oils or waxes prior to applying our dyes can lessen adhesion and may cause dyes to wear off prematurely. (If dyes wear off prematurely in areas – clean area again with rubbing alcohol – let dry- reapply the dyes.) Heavy oil saturated areas can take weeks to WICK (migrate) back up to the surface.
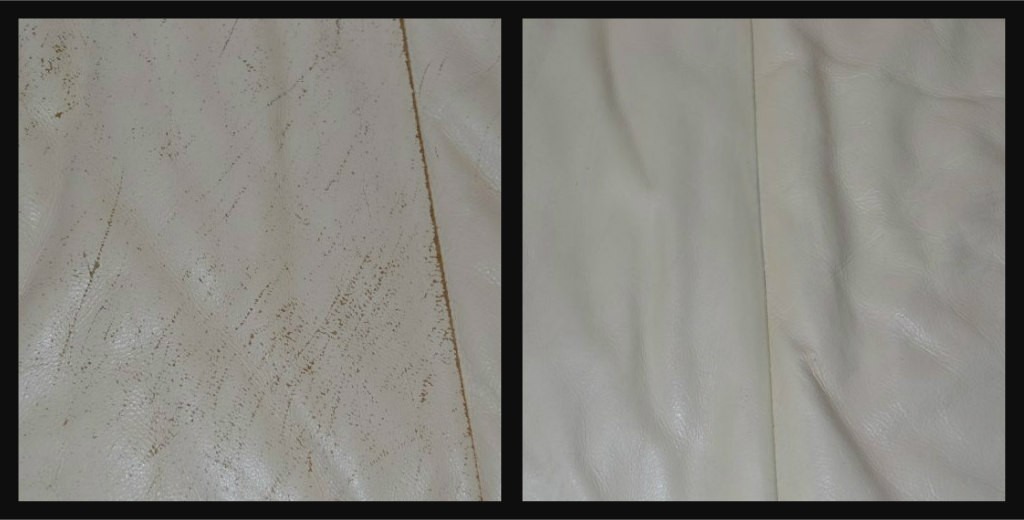
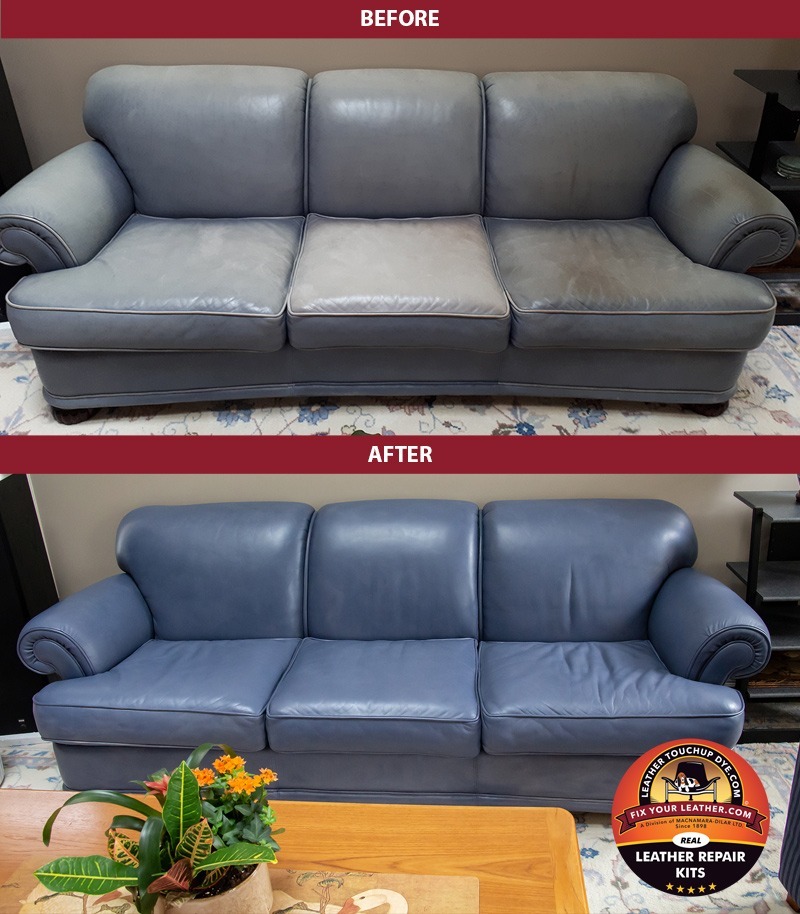
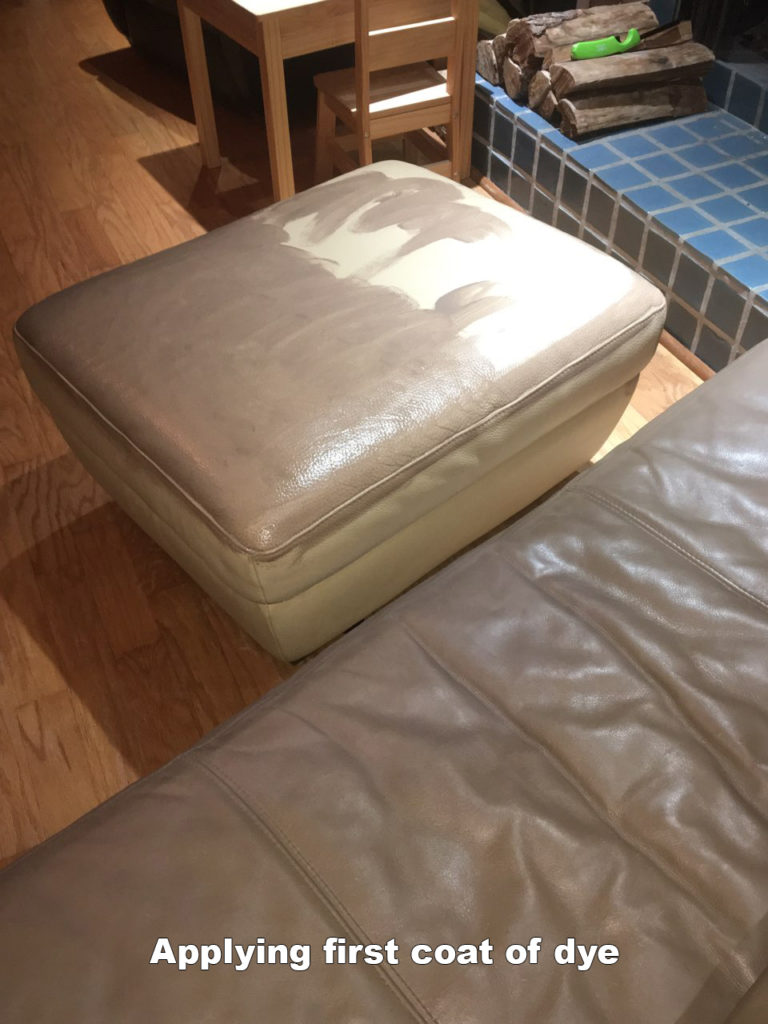
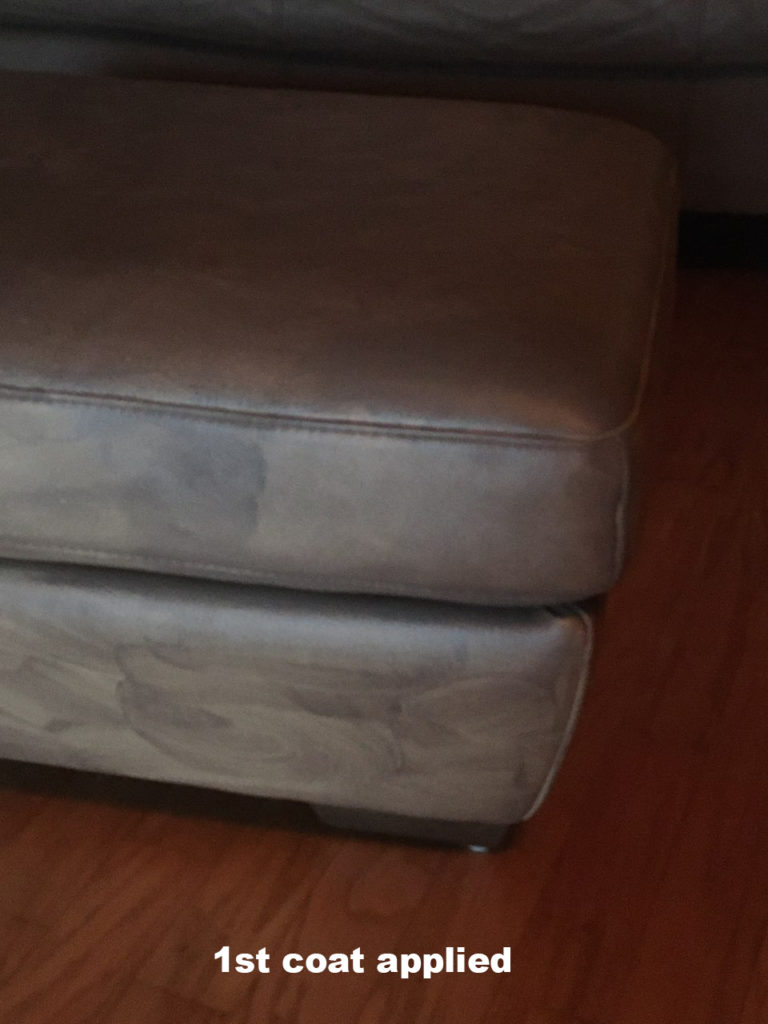
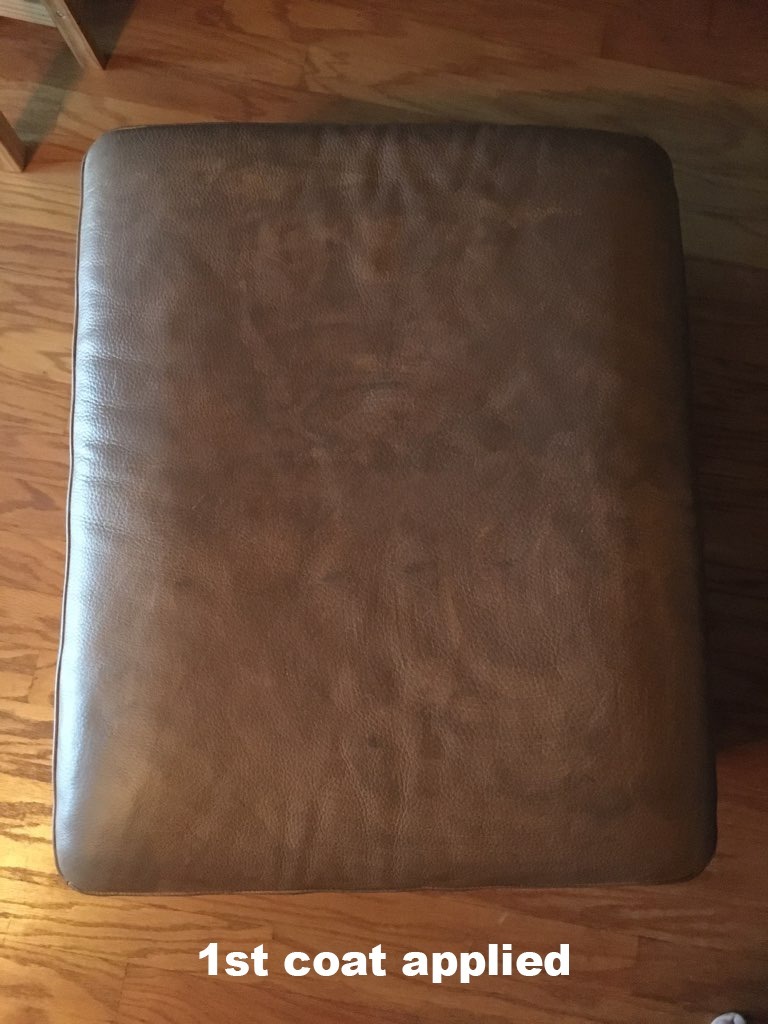
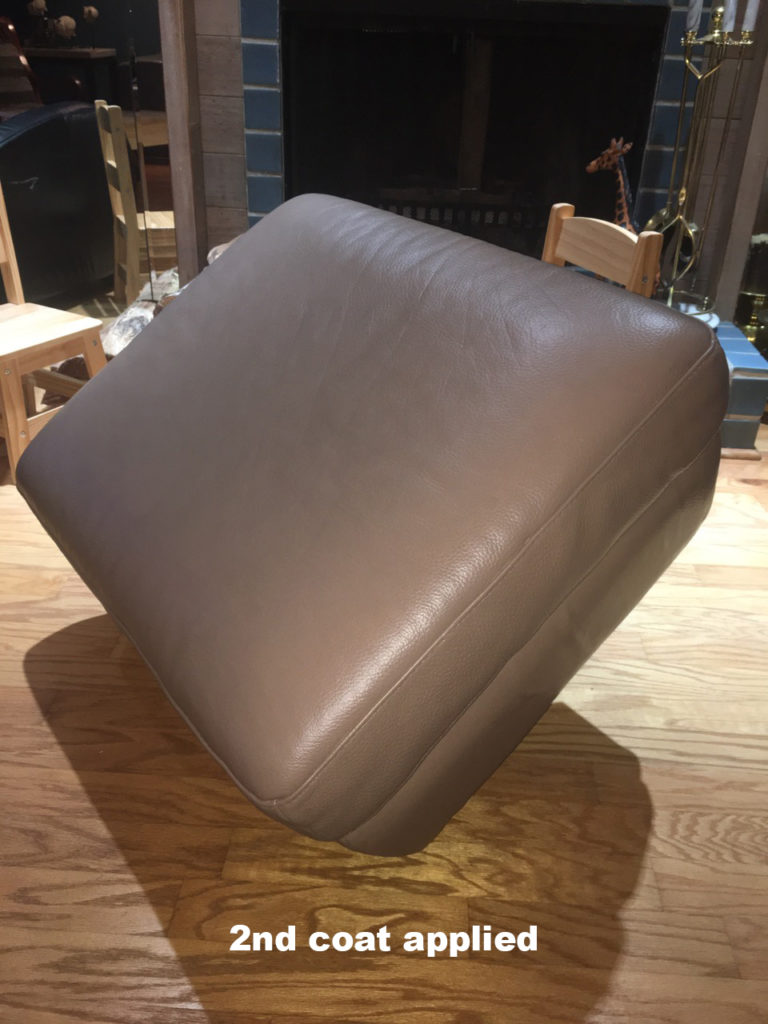
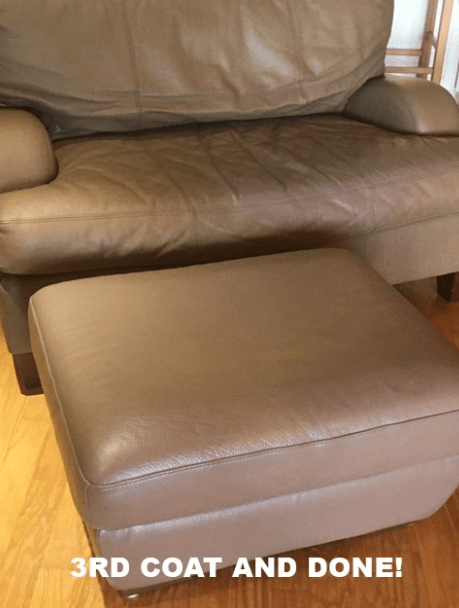
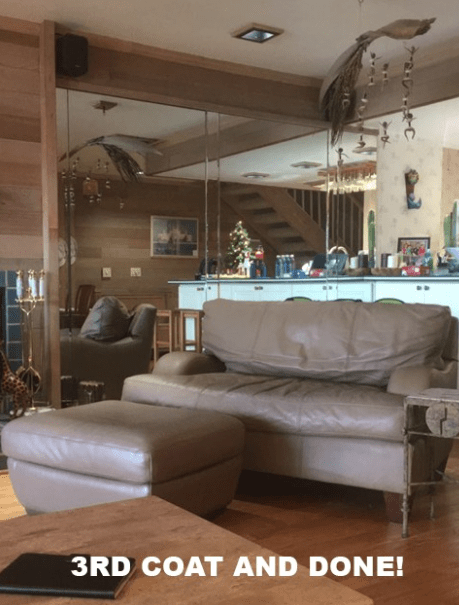
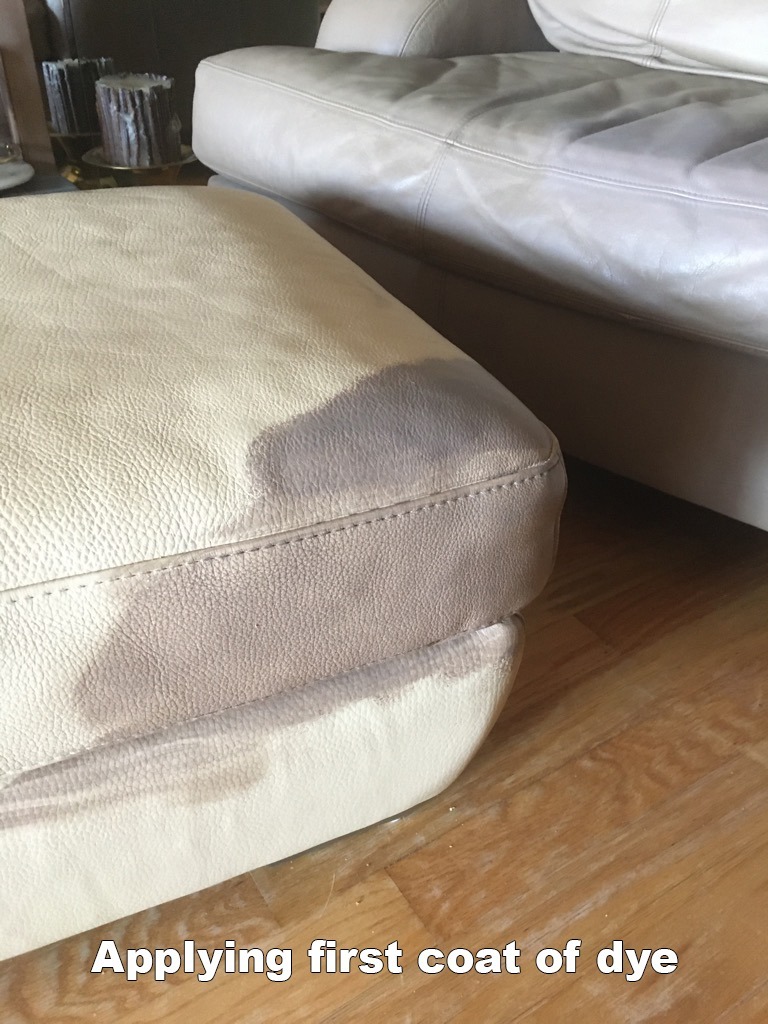
- SHAKE leather dye bottle for up to 1 minute, apply small amount to sponge, apply in circular motions using a light hand – let each coat dry (hair dryer) before applying another coat. Repeat process by dabbing dyes on surface until you are happy with the repair. (for large worn areas in the leather, rub dye into worn areas leather using a glove – let dry) If area is rough, lightly sand with supplied sandpaper.
- If lighter dye colors are not covering ingrained stains or blemishes – dab areas with the sponge for a thicker coating and let dry.
- When leather dye application is complete, and areas dried – apply leather sealer – spray sealer evenly onto the sponge and then gently wipe into leather – let dry. To avoid streaking (use circular motions and a light hand).
- *Tip: Always use a light hand when applying dye and the sealer to reduce the chance of streaking. Clean all sponges and gloves with warm soapy water. Make sure to snap the clear air tight cap protector back on the black sprayer – or the SEALER will cure and plug the nozzle!)
For further instructions and tips, please visit our YouTube channel : www.youtube.com/user/Leathertouchupdye
You can also visit our FAQs page where you’ll find answers to many common questions here: www.leathertouchupdye.com/how-to-fix-leather-furniture-faqs
If you have concerns or questions about your recently received order, please visit our Concerns – Troubleshooting page here: www.leathertouchupdye.com/concerns
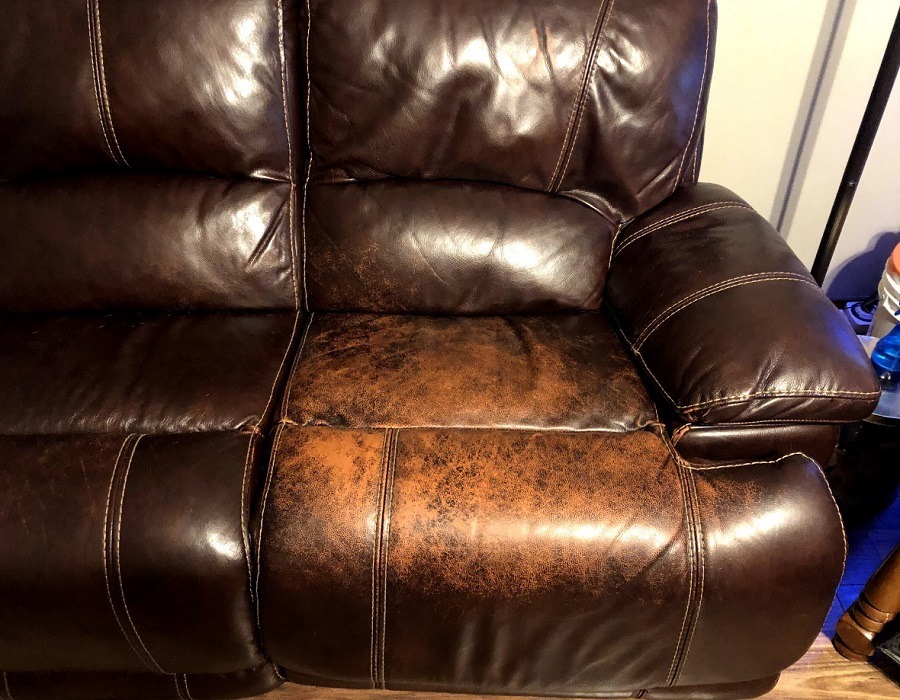
Antique - Aniline Leather Renew
Aniline Renew Leather Dye Kit Instructions:
All of our leather dyes are the premium quality, professional grade.
-
- Spray cleaner onto the cleaning cloth and wipe down leather – *for heavy dirt, spray cleaner directly on the surface and let sit for 5-10 seconds. Massage the cleaner into the surface with hand using supplied rubbers gloves. Wipe off loosened soil with cloth, let dry or use hairdryer to speed up process. (For super heavy soil repeat cleaning.) *If some areas feel waxy or oily after cleaning (areas on leather that had been saturated from body oils etc.) wipe those areas down with 70%-99% rubbing/isopropyl alcohol and a t-shirt wipe to remove sticky finish or oils. Depending on severity may have to be repeated until area feel dry of oil. Failure to remove oils or waxes prior to applying our dyes can lessen adhesion and may cause dyes to wear off prematurely. (If dyes wear off prematurely in areas – clean area again with rubbing alcohol – let dry – reapply the dyes.) Heavy oil saturated areas can take weeks to WICK (migrate) back up to the surface.
- SHAKE leather dye bottle for up to 1 minute, apply small amount to sponge, apply in circular motions using a light hand let each coat dry (hair dryer) before applying another coat. Repeat process by dabbing dyes on surface until you are happy with the repair. (for large worn areas in the leather, rub dye into worn areas leather using a glove – let dry) If area is rough, lightly sand with supplied sandpaper. If lighter dye colors are not covering ingrained stains or blemishes – dab areas with the sponge for a thicker coating and let fully dry over night.
- That’s It! You’re done! – NO SEALER IS NESSESSARY because our Aniline Renew Leather Dye has the “SEALER built into the FORMULATION!” (*Optional leather protector can be applied over top of Aniline Renew Leather Dyes for absolute maximum protection).
Tip: Always use a light hand when applying dye to reduce the chance of streaking. Clean all sponges and gloves with warm soapy water. Make sure to snap the clear airtight cap protector back on the black sprayer – or the SEALER will cure and plug the nozzle!)
For further instructions and tips, please visit our YouTube channel : www.youtube.com/user/Leathertouchupdye
You can also visit our FAQs page where you’ll find answers to many common questions here: www.leathertouchupdye.com/how-to-fix-leather-furniture-faqs
If you have concerns or questions about your recently received order, please visit our Concerns – Troubleshooting page here: www.leathertouchupdye.com/concerns
Leather Repair Filler
Before applying filler, Clean the area with our oil-free leather cleaner and allow it to dry.
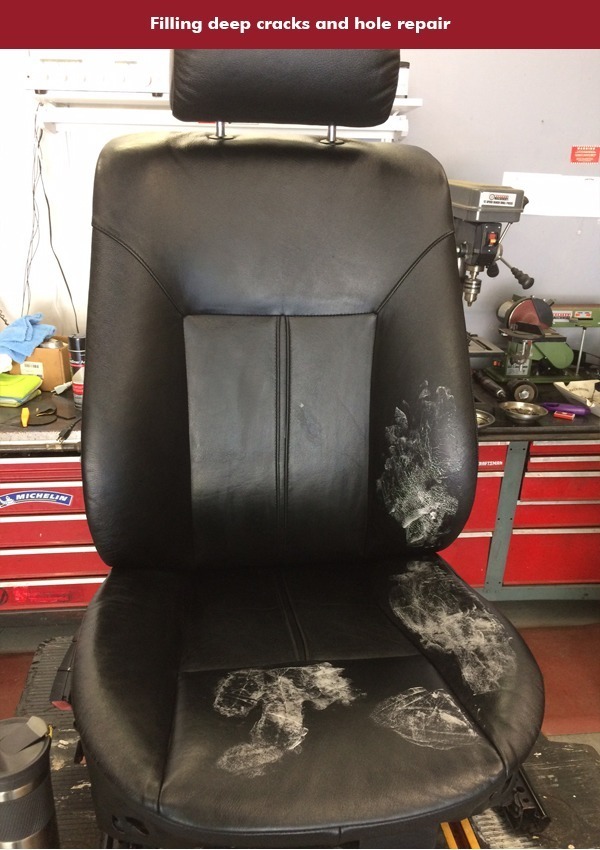
For Cracking Leather and Deep Scratches
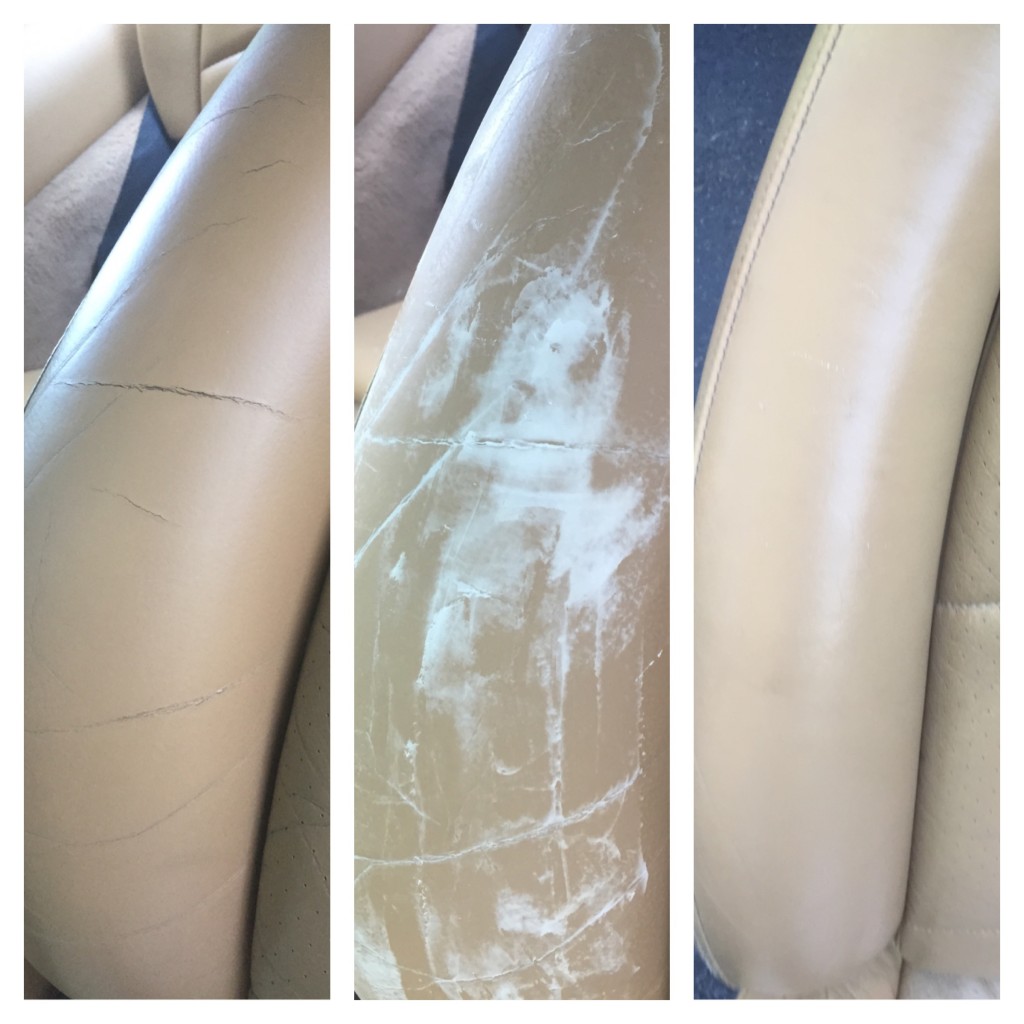
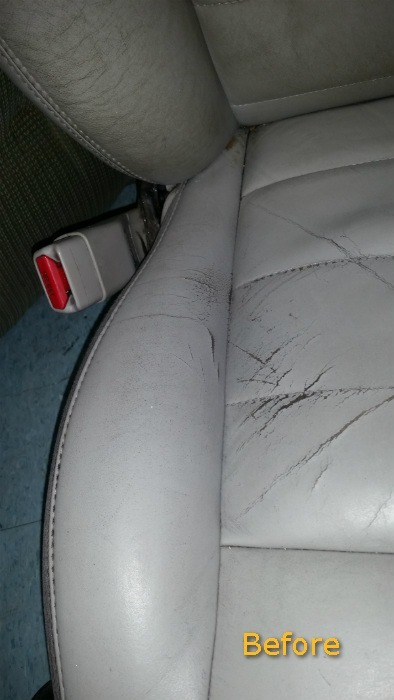
- Apply a small amount of filler into the crack or void. Scrape off any excess filler so only the cracks or deep scratches are filled, level with the surface. Let dry overnight.
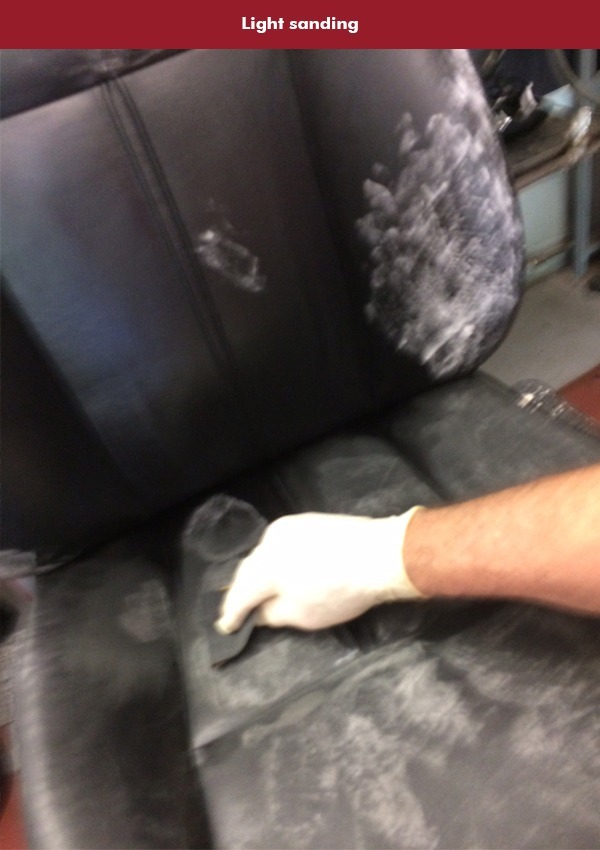
- Once dried and cured, if the area feels slightly rough, lightly sand to make it smooth with the supplied ultra-grit sandpaper.
For Rips or Tears That Go Through the Leather
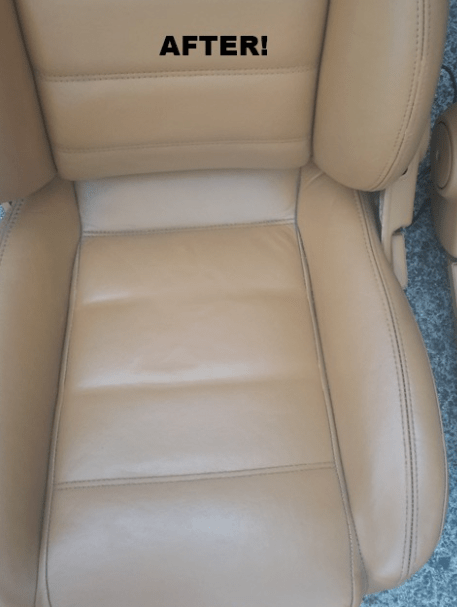
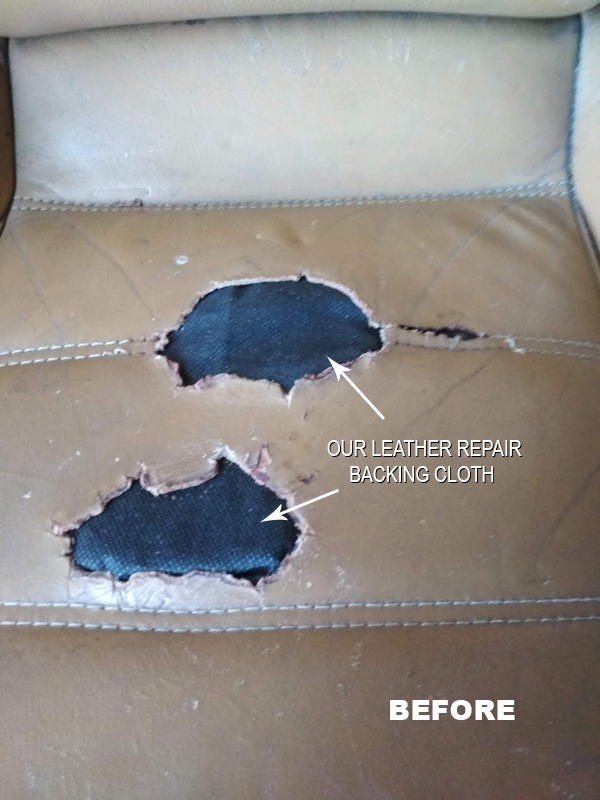
- Cut a piece of leather repair cloth 50% bigger than the rip. Center the cloth under the rip and make sure it is lying flat. The palette knife can be used to help you position the cloth.
- Apply leather filler to the inside lip of the rip or tear, lightly press the leather down to contact
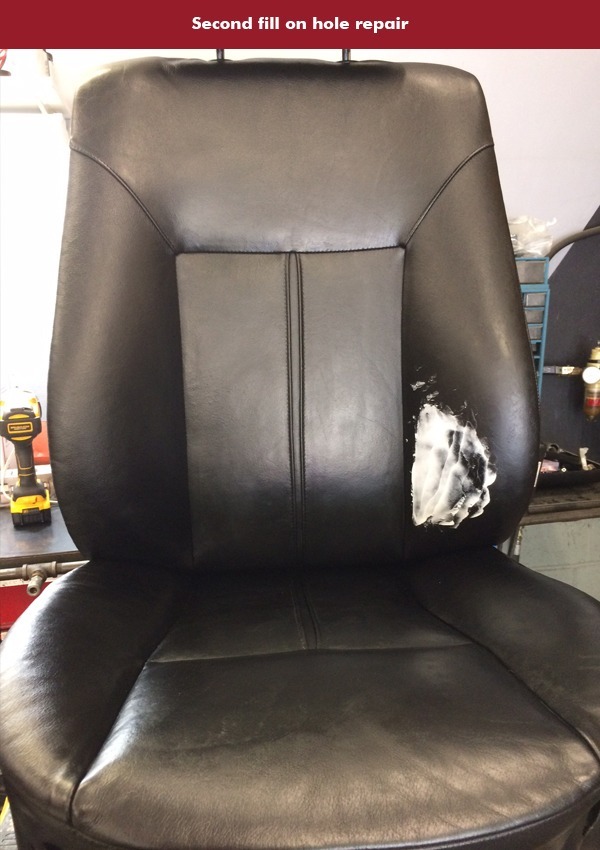
the repair cloth to bond both together. Try to leave a concave void (or valley) in the torn area that will be later filled in. Let dry overnight before the next step. - Apply filler to the ripped area and fill in the concave void (or valley), making the repair level with the surface. Let the area dry overnight before applying the leather dye.
Helpful Tips
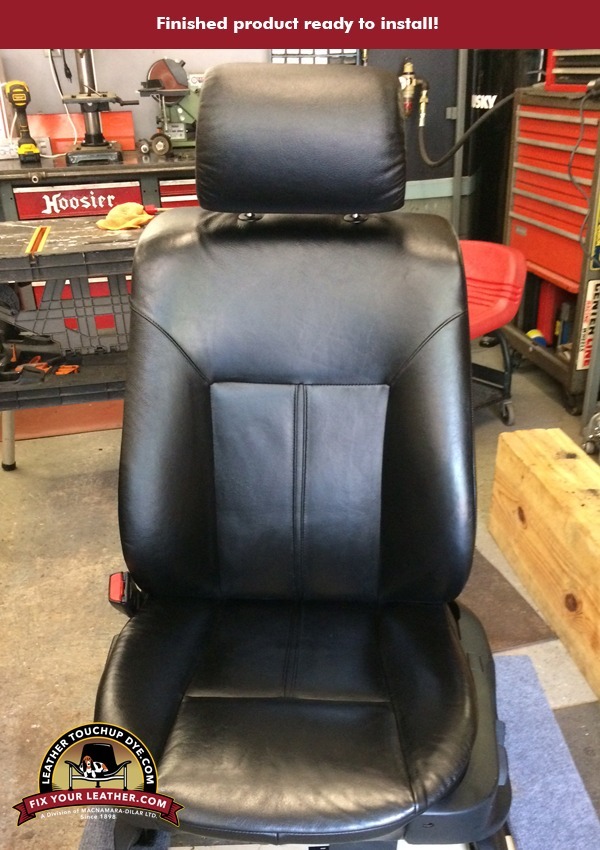
When applying dye over the filler, you may need to apply several coats of dye to achieve full and complete coverage. If the area appears to be lighter and/or you can see the filler showing through the dye, apply more coats of dye until the filler is fully covered.
For optimum results, try not to “overapply” the filler (lumpy/messy ). You can always apply more coats after the filler dries if needed! Take your time; repairs should never be rushed!
Fast Fix Leather Dye
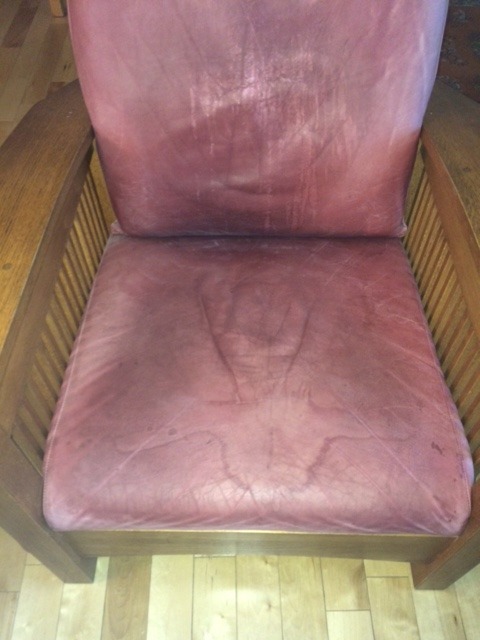
Basic Leather Cleaning
Basic Leather Cleaning Instructions
Our leather cleaners are premium quality, professional grade.
- Wet leather cleaning cloth with warm water – wring out cloth.
- Spray Leather Cleaner on areas that require cleaning ( generally clean one seating area at a time )
- Let cleaner sit on surface for 10-20 seconds, then wipe area down with the leather cleaning cloth.
- For excessively soiled areas – may require additional cleanings.
- Tip – If you have heavy jean dye ( dye rub off from denim ) on a white leather couch, a plastic pot scrubber can aid in the removal of the jean dye.
*If cleaning Nubuck , Sueded leather or Microfiber – do not spray cleaner on the surface of the hide, rather – spray cleaner on the surface of damp leather cleaning cloth. Wipe cleaning cloth in circular motions, working with the nap of the leather in all soiled areas. Repeat cleaning if necessary once dried. Areas can then be brushed up using a dry leather cleaning cloth or soft nylon fingernail brush.
For further instructions and tips, please visit our YouTube channel : www.youtube.com/user/Leathertouchupdye
You can also visit our FAQs page where you’ll find answers to many common questions here: www.leathertouchupdye.com/how-to-fix-leather-furniture-faqs
If you have concerns or questions about your recently received order, please visit our Concerns – Troubleshooting page here: www.leathertouchupdye.com/concerns
Leather Cleaner & Protector
Leather Cleaner and Protector Instructions
Our leather cleaners and protectors are premium quality, professional grade.
- Spray cleaner onto the cleaning cloth and wipe down leather – for heavy dirt, spray cleaner directly on the soiled area and let sit for 15 – 25 sec then wipe with cloth – let dry or use hairdryer to speed up process. (For heavy soil repeat cleaning.) *If some areas feel waxy or oily after cleaning (areas on leather that had been saturated from body oils etc.) wipe those areas down with 70%-99% rubbing/isopropyl alcohol and a t-shirt wiper to remove sticky finish or oils before applying the protector.
- When area is clean and dry, spray a liberal amount of the leather protector evenly into sponge – wipe into leather and let dry. Try to avoid streaking (can use circular motions). Let dry overnight or you can speed drying with a hairdryer to quicken the curing time.
- *Tip: If you have heavy jean dye transfer (dye rub off from denim) on a white or light color leather couch, a plastic pot scrubber can aid in the removal of the jean dye.
Future Care and Maintenance: Spray Leather Cleaner onto Leather Cleaning Cloth, “Wet dust” the leather every 3-4 weeks depending on use. Reapply protector to your clean leather every 8-12 months depending on use.
If cleaning Nubuck, Sueded leather or Microfiber: Do not spray cleaner on the surface of the hide, rather – spray cleaner on the surface of damp leather cleaning cloth. Wipe cleaning cloth in circular motions, working with the nap of the leather in all soiled areas. Repeat cleaning if necessary once dried. Areas can then be brushed up using a dry leather cleaning cloth or soft nylon fingernail brush.
Clean all sponges and gloves with warm soapy water. Make sure to snap the clear air tight cap protector back on the black sprayer – or the PROTECTOR will cure and plug the nozzle!)
For further instructions and tips, please visit our YouTube channel : www.youtube.com/user/Leathertouchupdye
You can also visit our FAQs page where you’ll find answers to many common questions here: www.leathertouchupdye.com/how-to-fix-leather-furniture-faqs
If you have concerns or questions about your recently received order, please visit our Concerns – Troubleshooting page here: www.leathertouchupdye.com/concerns
Leather Cleaning, Protection & Conditioning
Leather Cleaning, Protection and Conditioning Instructions
Our leather cleaners, protectors and conditioners are premium quality, professional grade.
- Wet leather cleaning cloth with warm water – wring out cloth.
- Spray Leather Cleaner on areas that require cleaning (generally clean one seating area at a time)
- Let cleaner sit on surface for 10-20 seconds, then wipe area down with the leather cleaning cloth.
- For excessively soiled areas – may require additional cleanings.
- Tip – If you have heavy jean dye (dye rub off from denim) on a white leather couch, a plastic pot scrubber can aid in the removal of the jean dye.
- Once furniture is completely dry (4-5 hours) – apply a liberal amount of leather conditioner to sponge, rub into leather using circular motions- let dry.
- Make sure conditioner has had time to absorb into skins (4-5 hours) before applying leather protector.
- When area is clean and dry, spray a liberal amount of the leather protector evenly into sponge – wipe into leather and let dry. Try to avoid streaking (can use circular motions).
*Clean all sponges and gloves with warm soapy water. Flush leather protector spray nozzle with water for later use.
For further instructions and tips, please visit our YouTube channel : www.youtube.com/user/Leathertouchupdye
You can also visit our FAQs page where you’ll find answers to many common questions here: www.leathertouchupdye.com/how-to-fix-leather-furniture-faqs
If you have concerns or questions about your recently received order, please visit our Concerns – Troubleshooting page here: www.leathertouchupdye.com/concerns


Follow Us!