




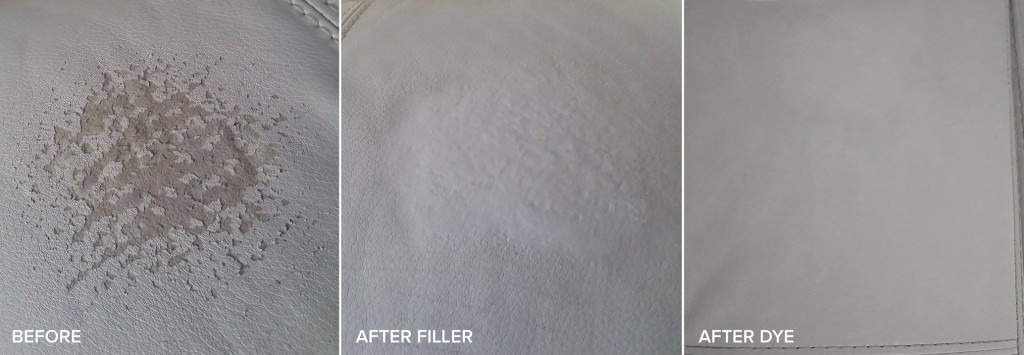
Before applying filler, Clean the area with our oil-free leather cleaner and allow it to dry.
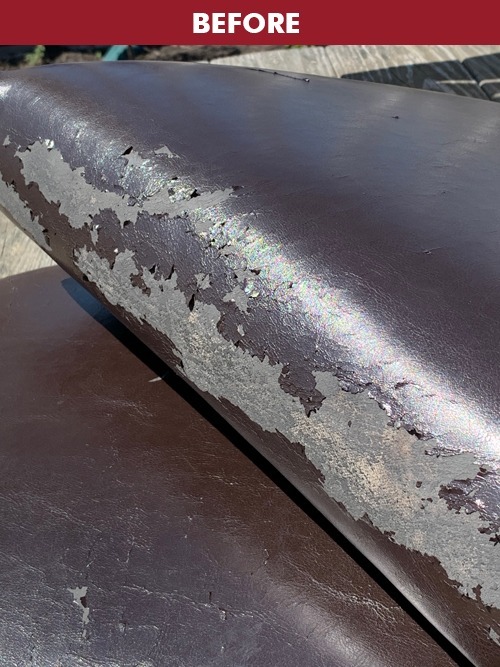
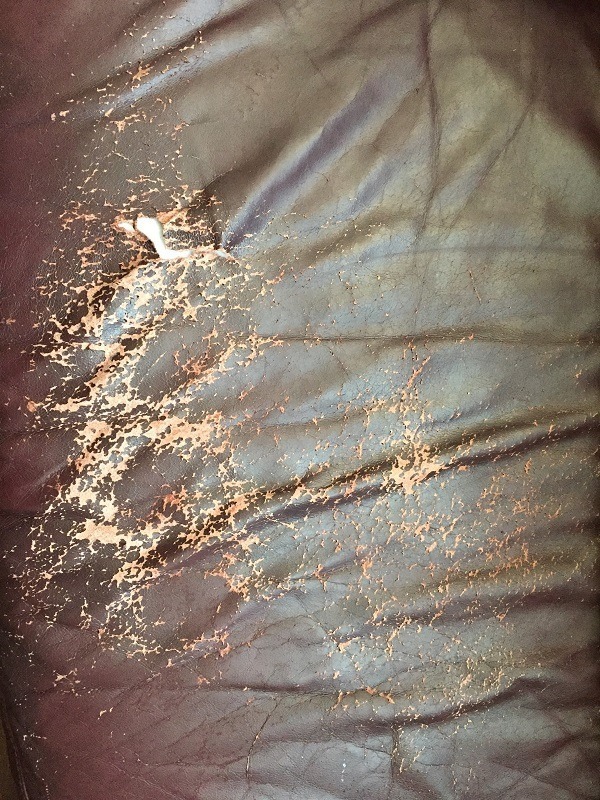
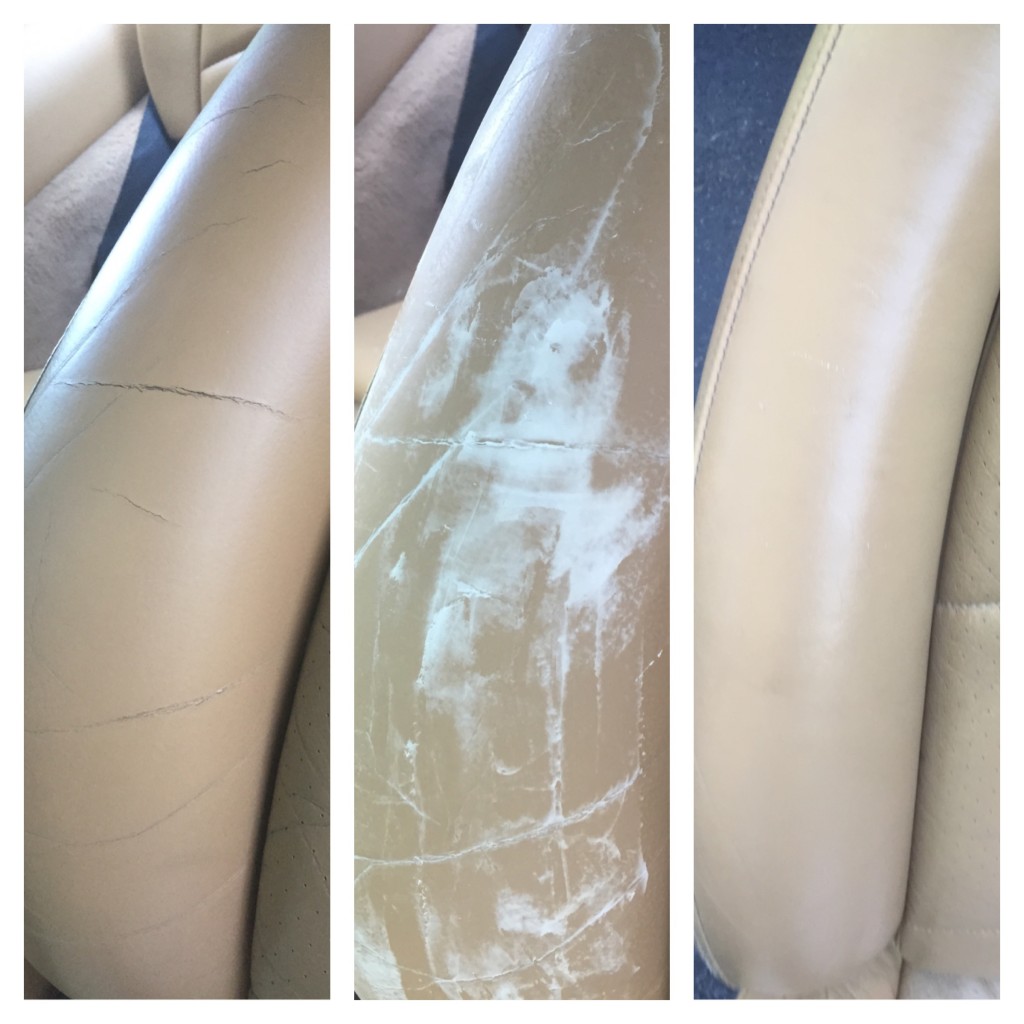
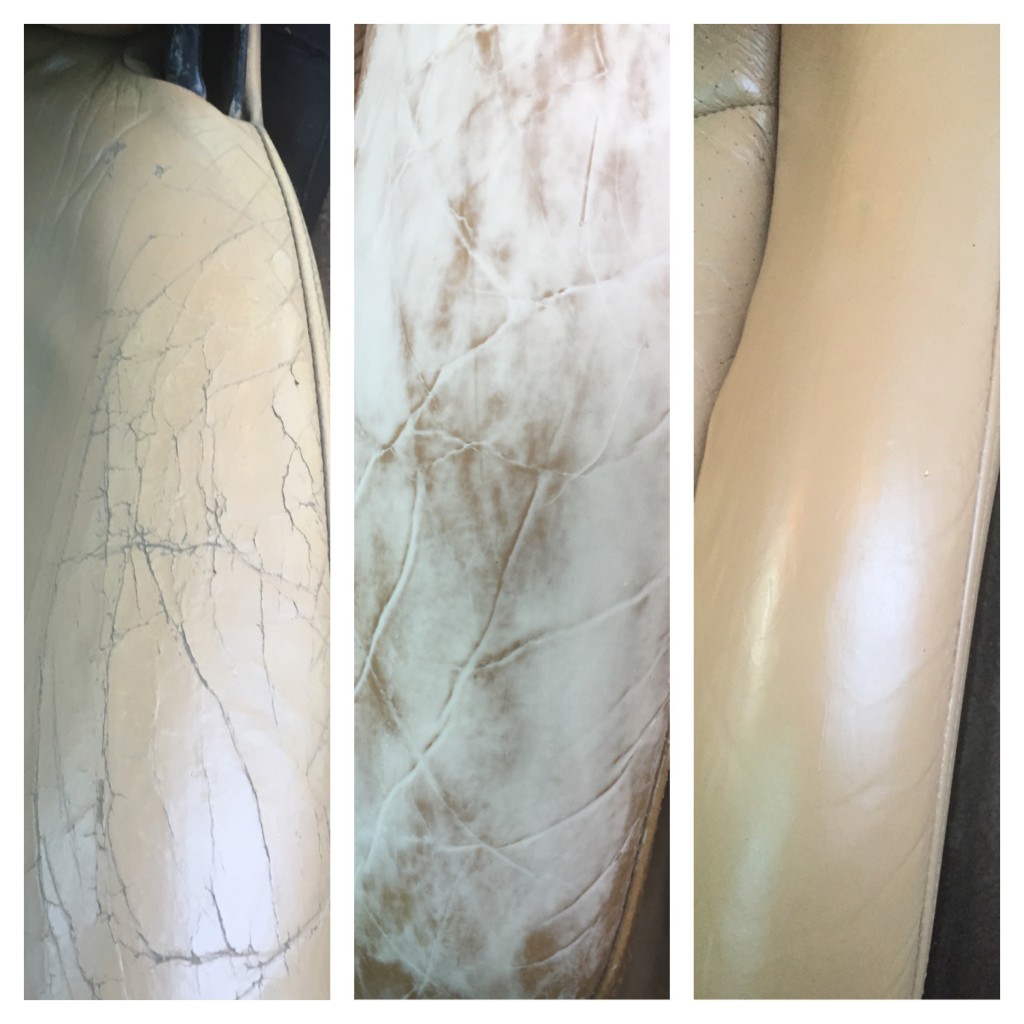
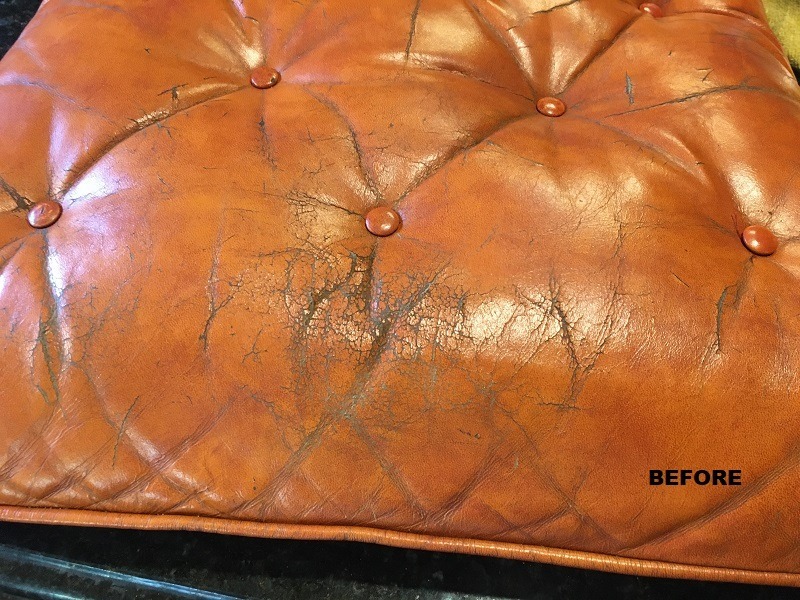
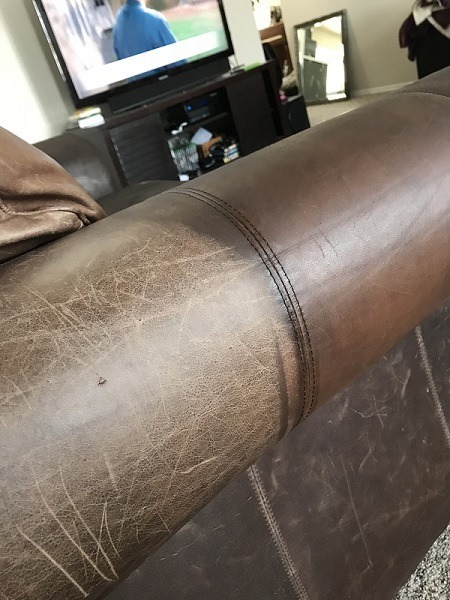
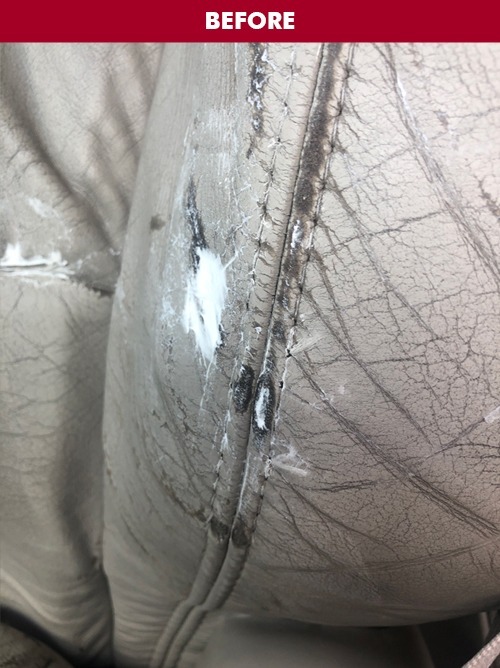
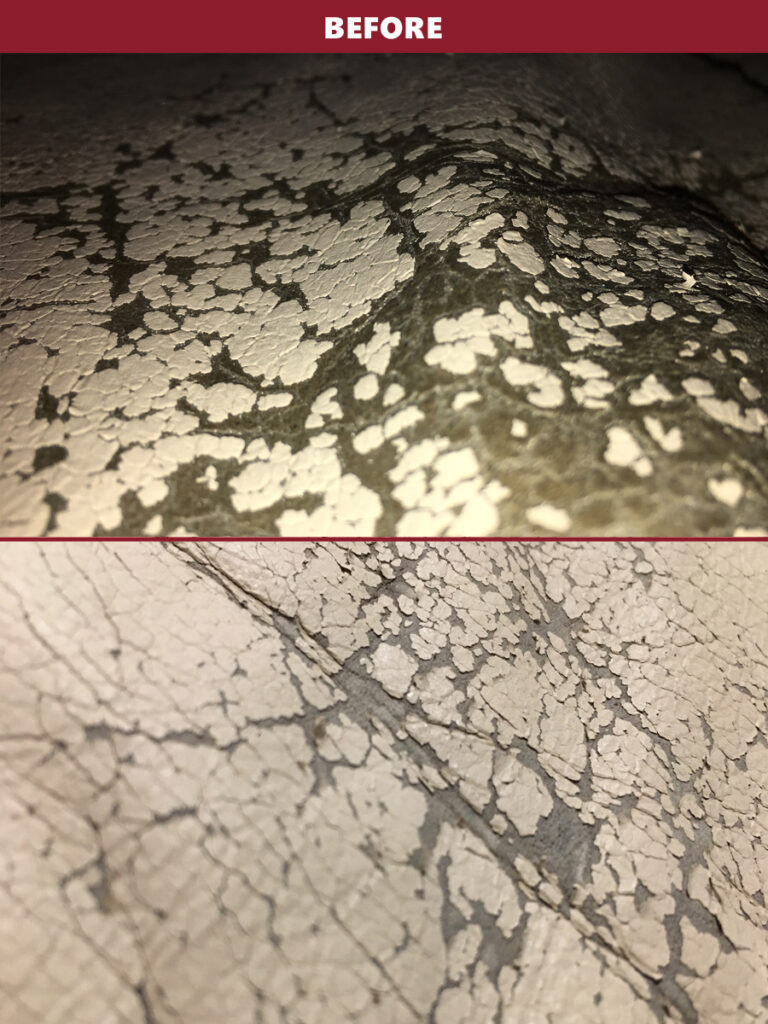
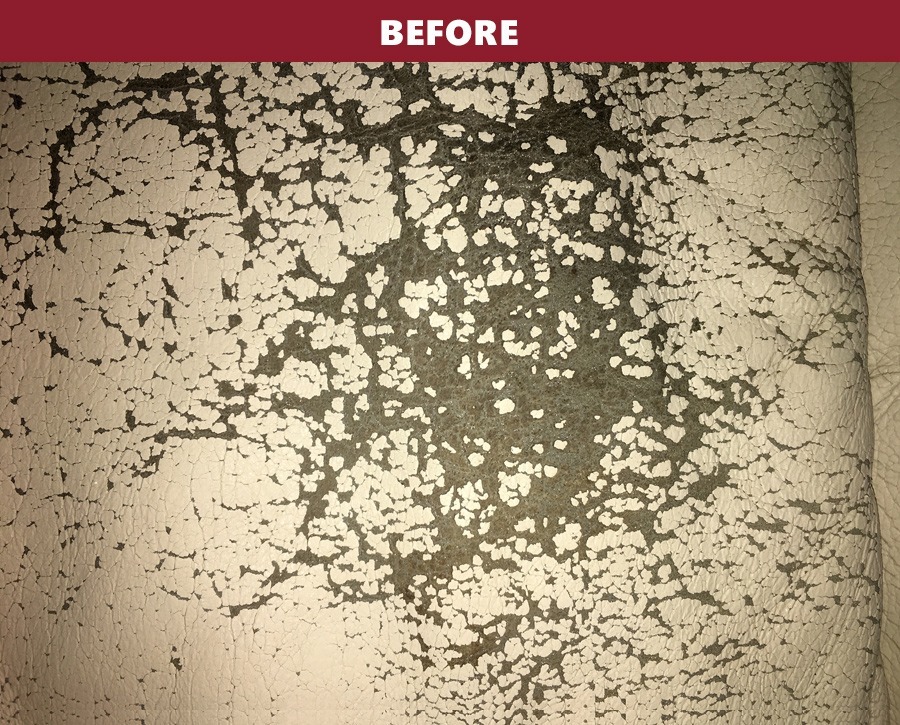
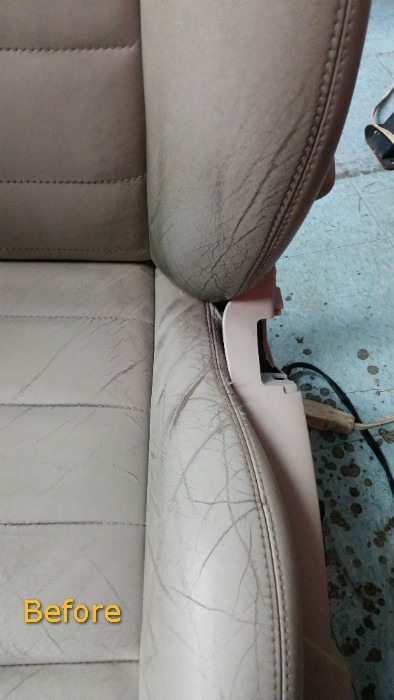
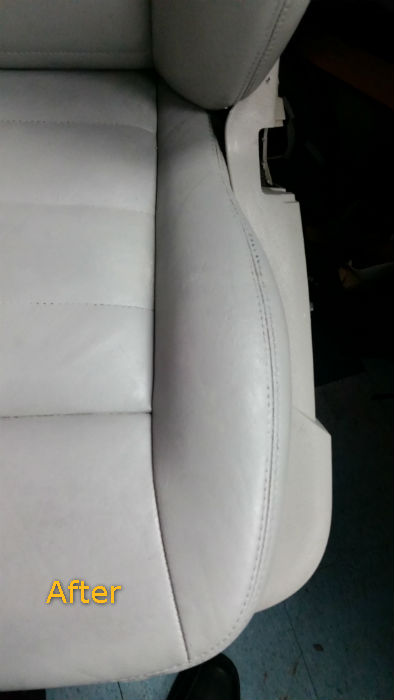
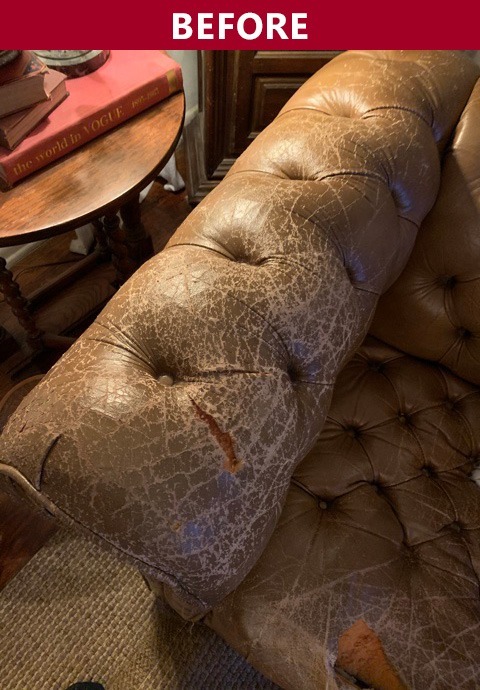
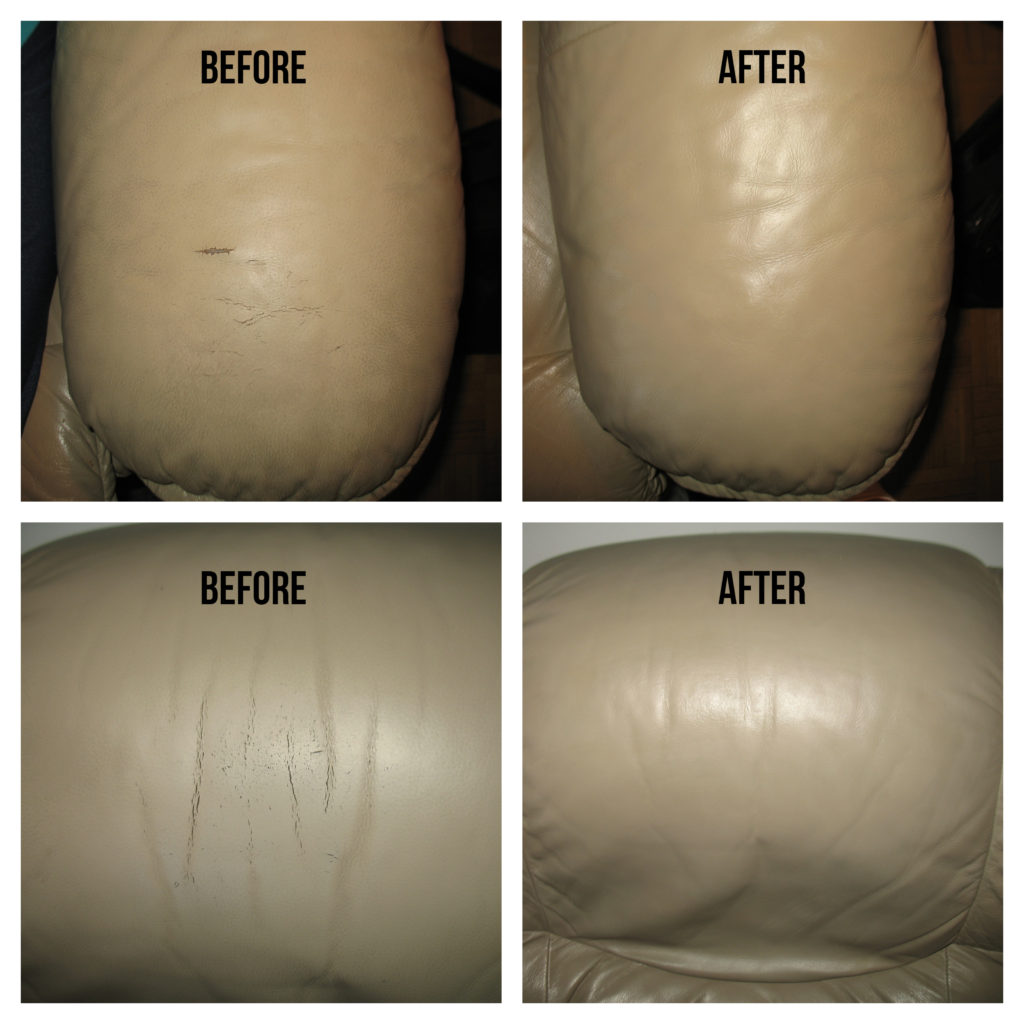
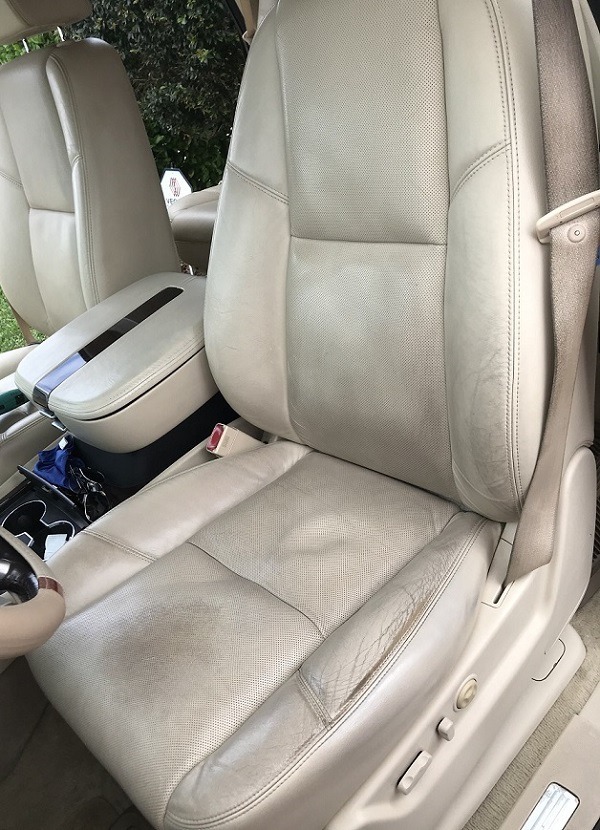
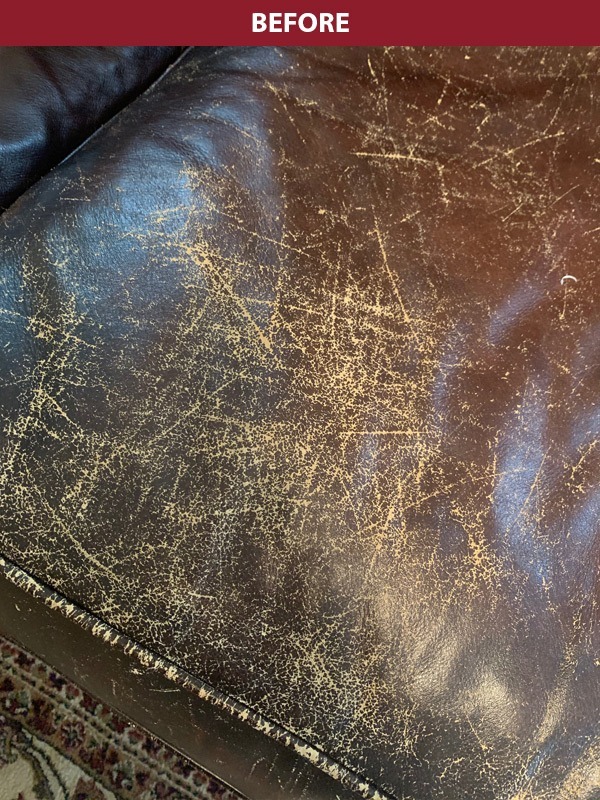
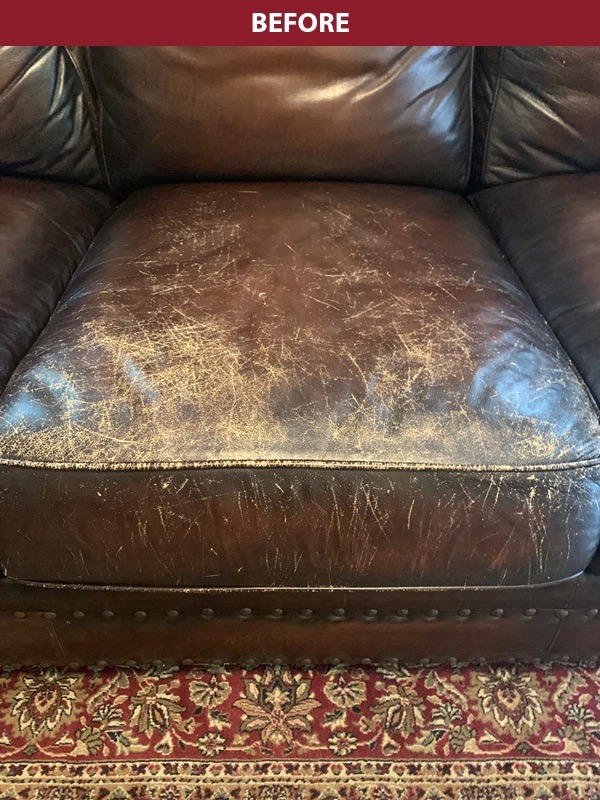
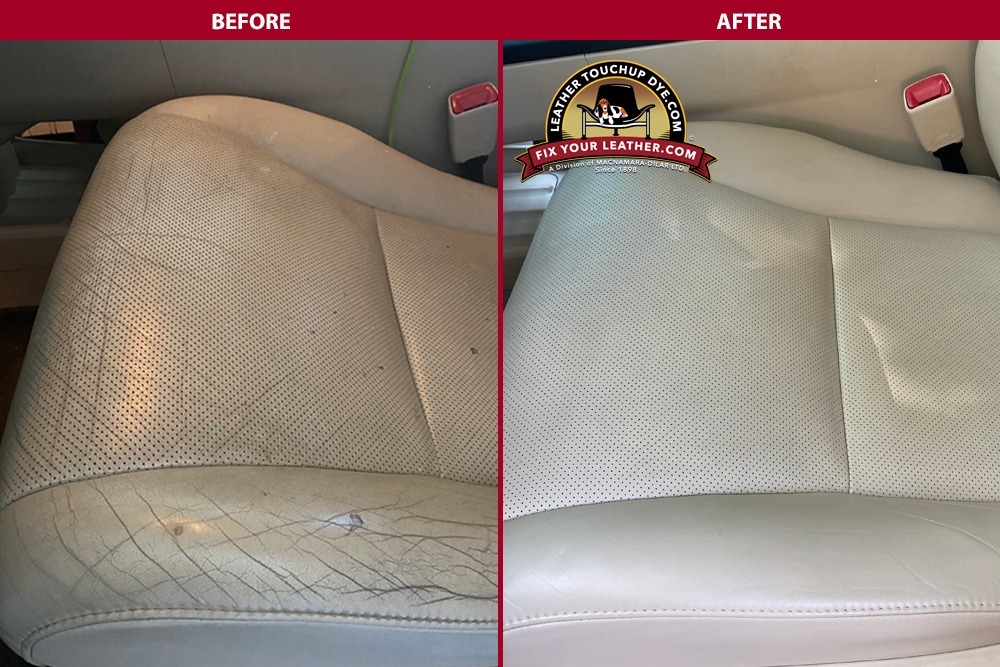
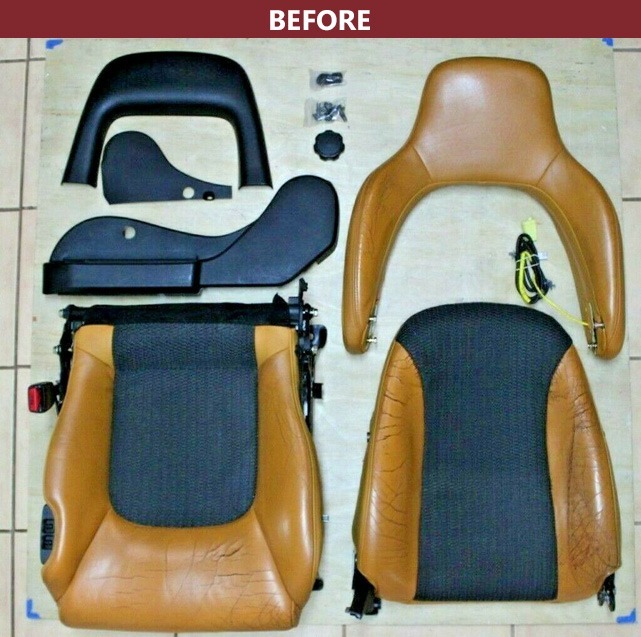
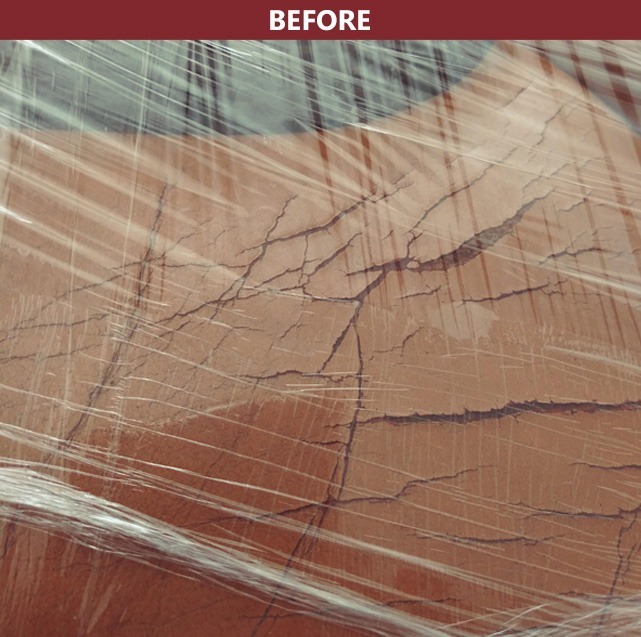
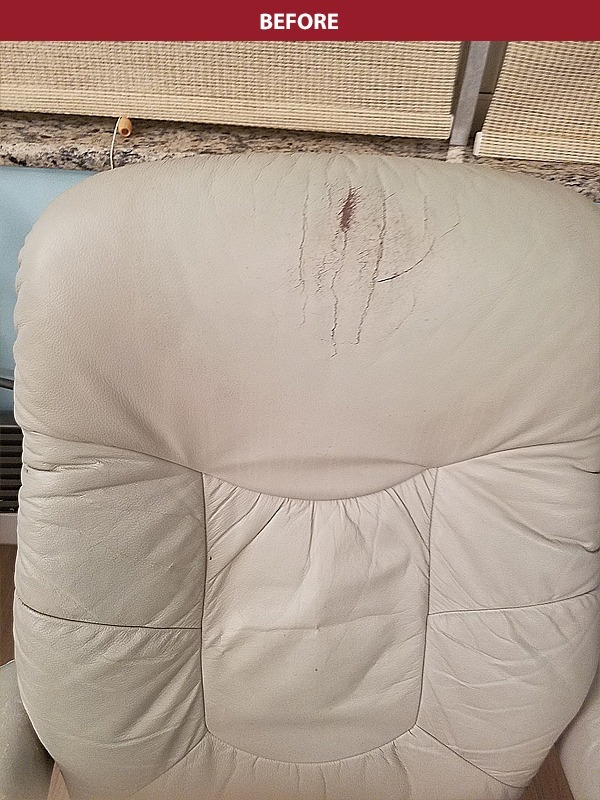
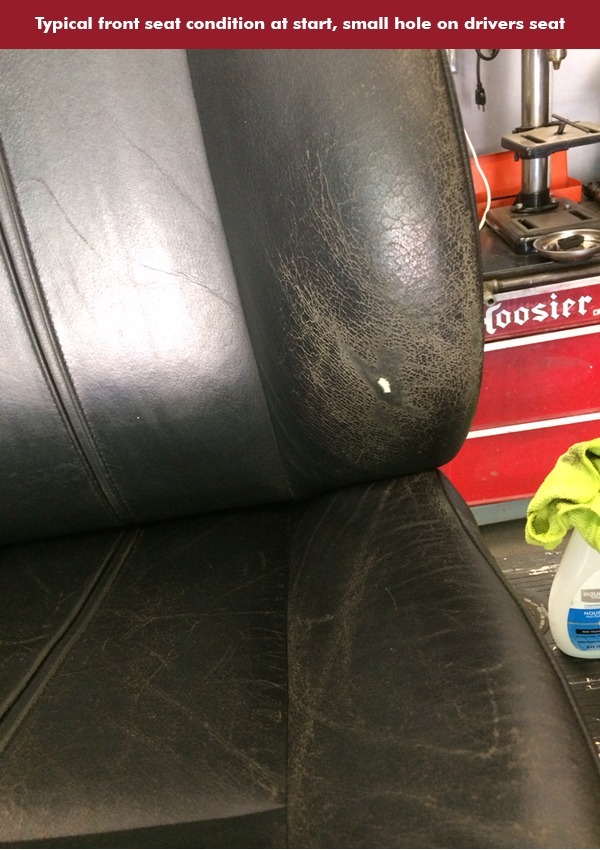
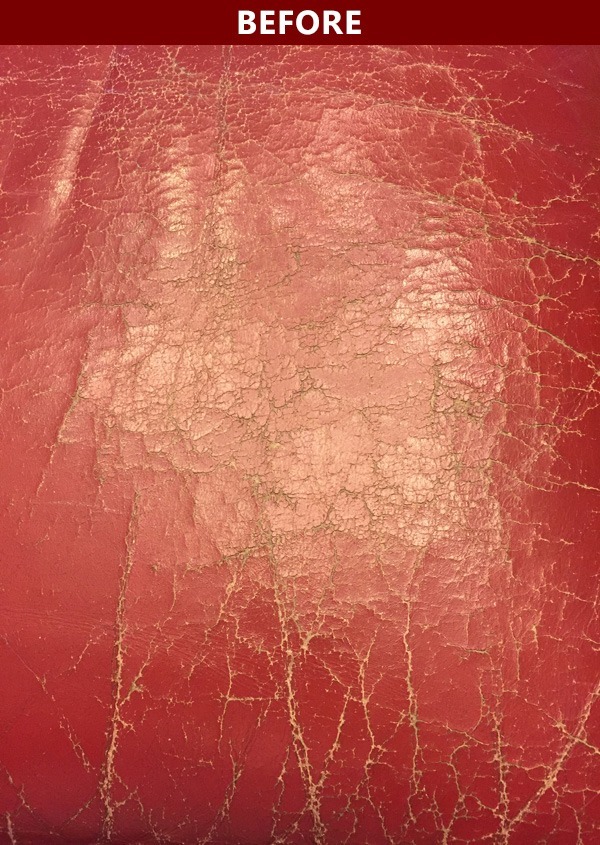
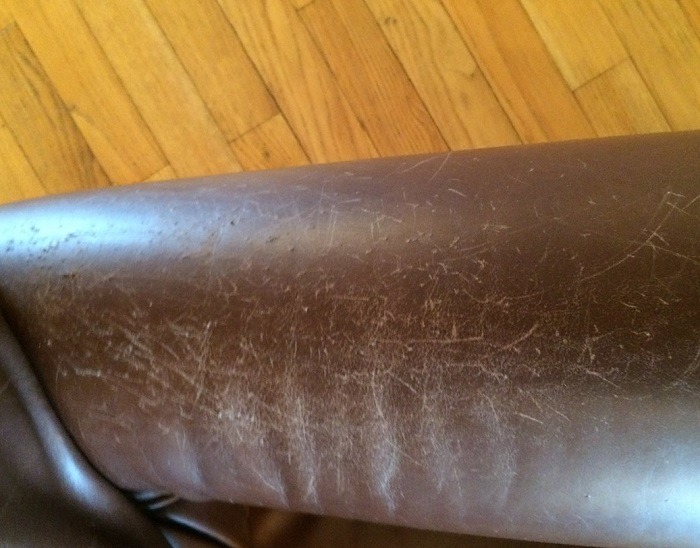
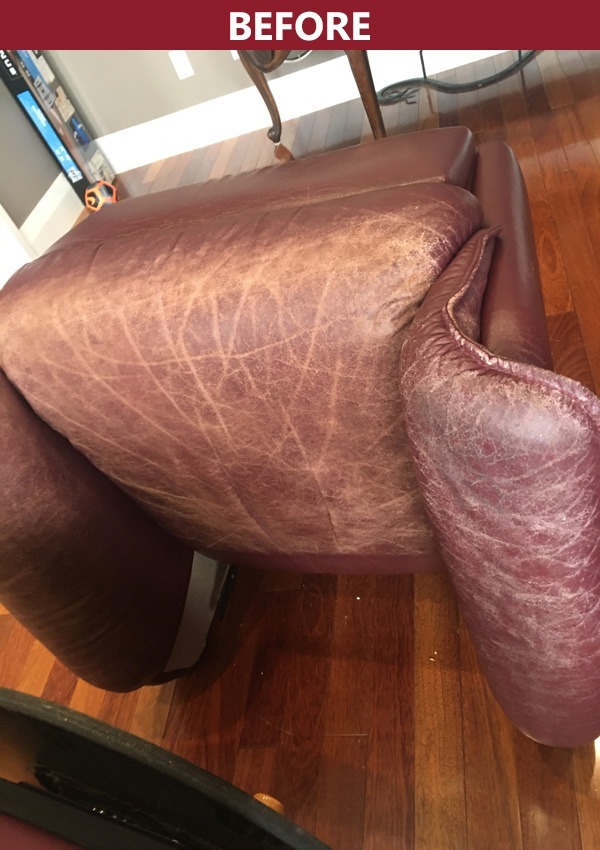
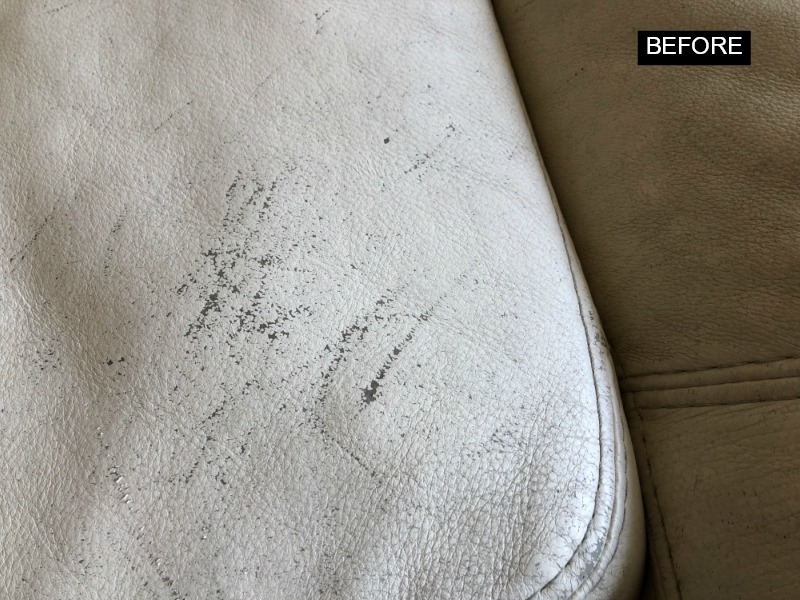
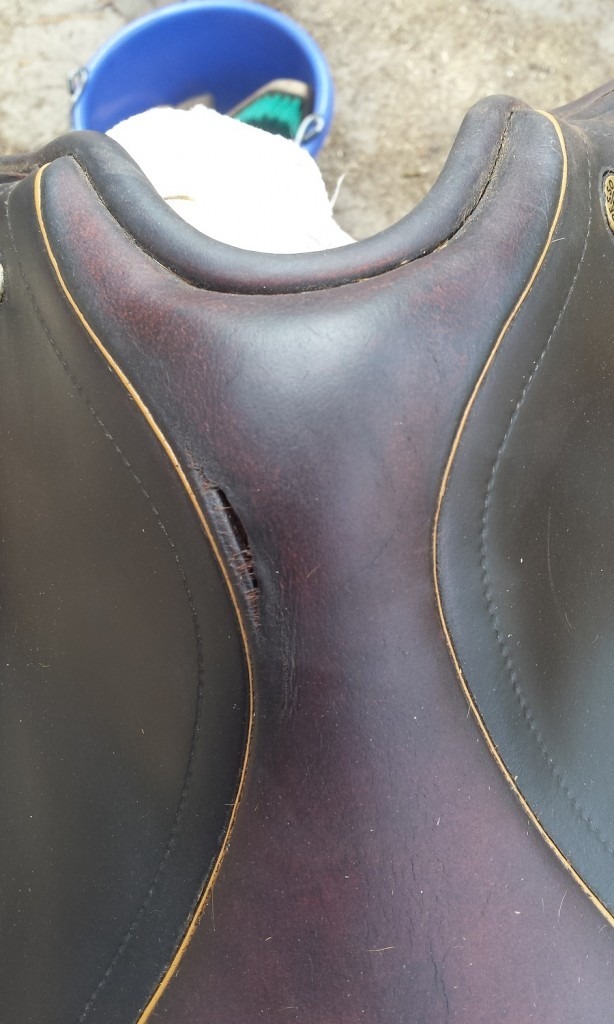
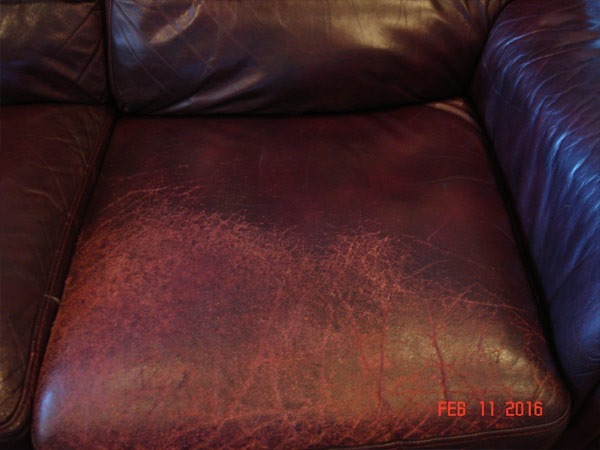
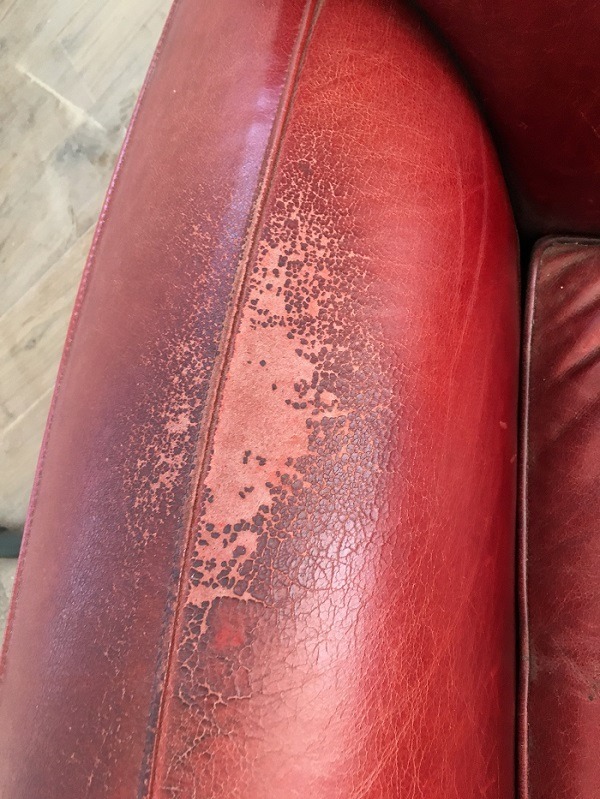
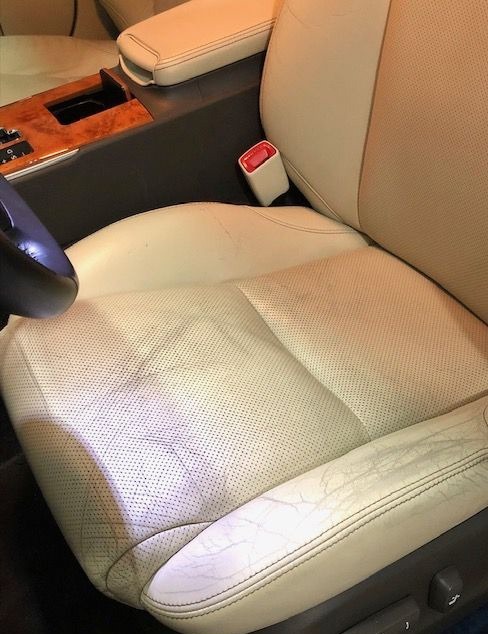
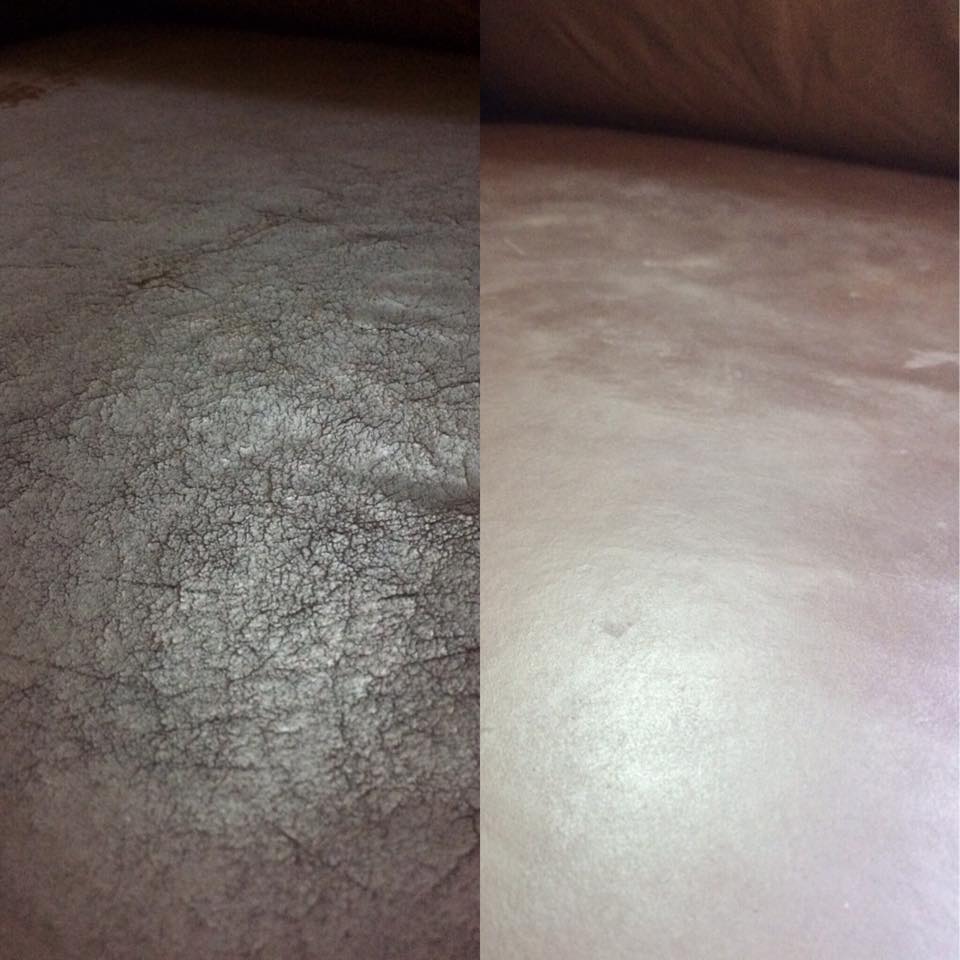
For Cracking Leather and Deep Scratches
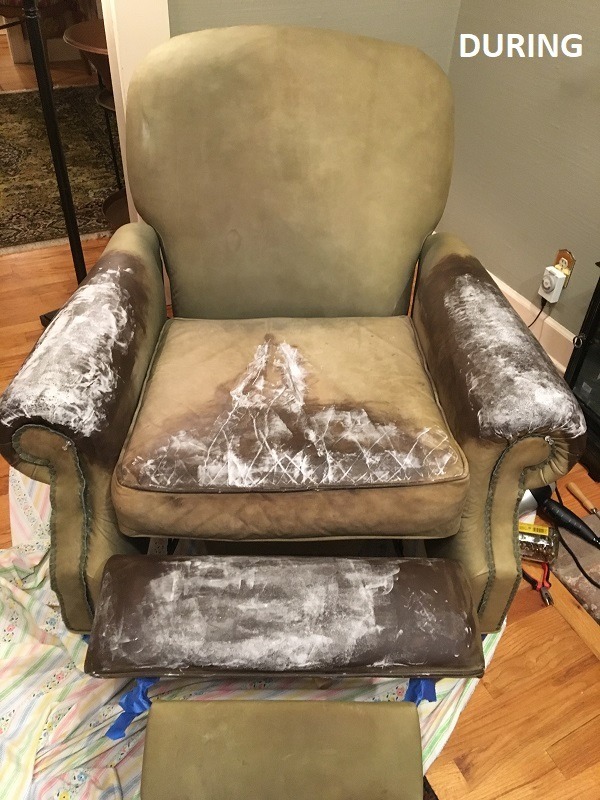
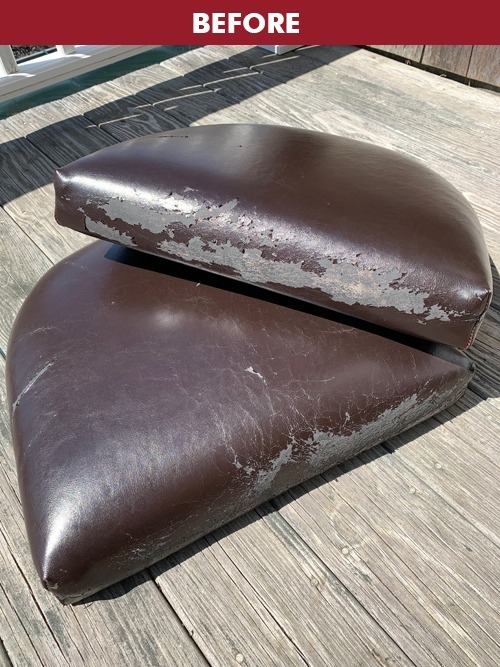
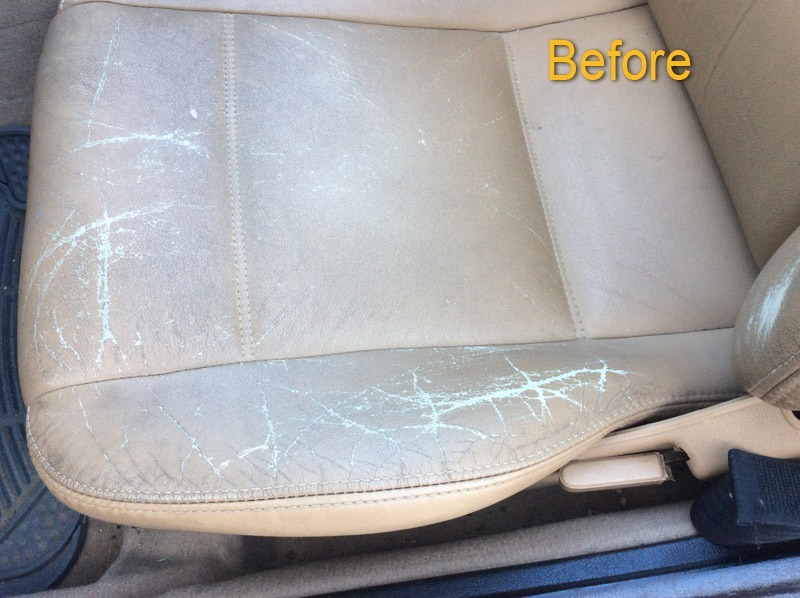
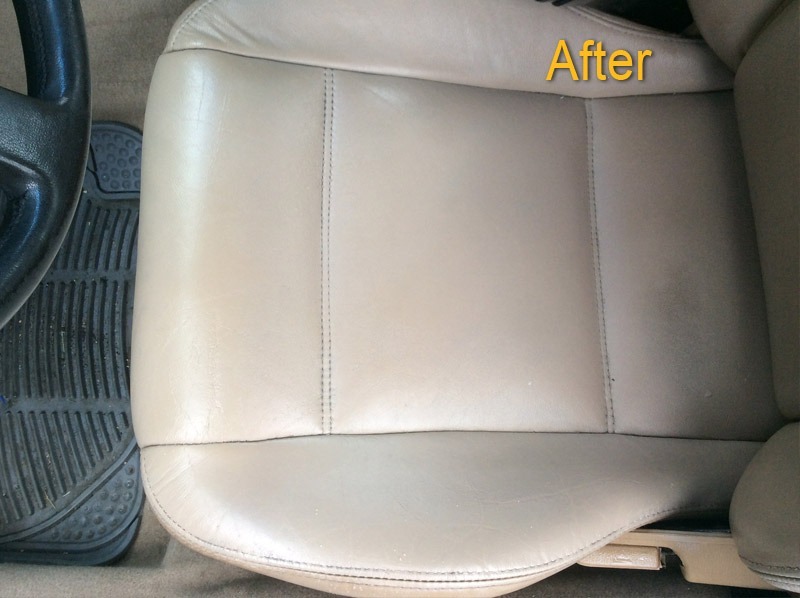
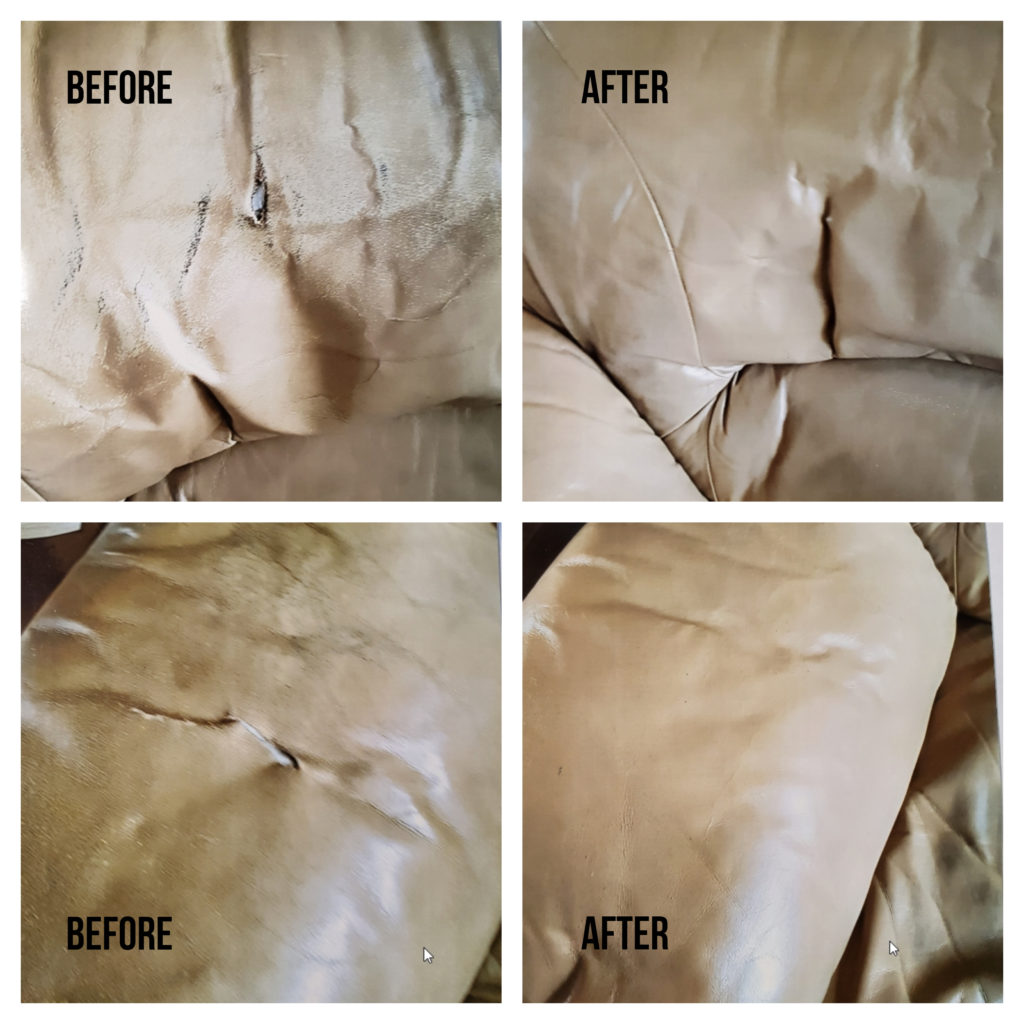
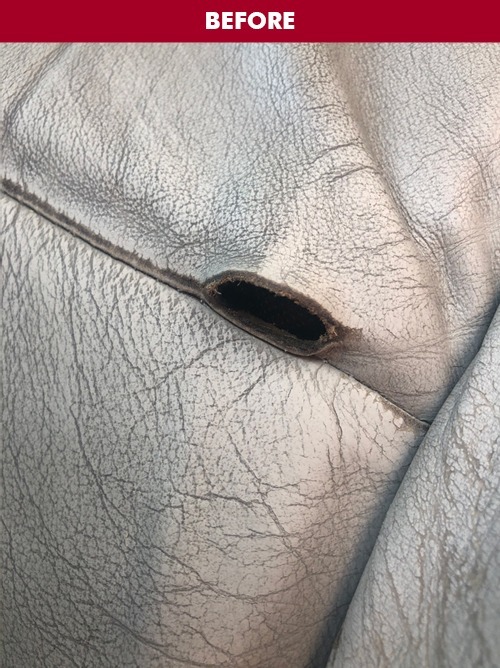
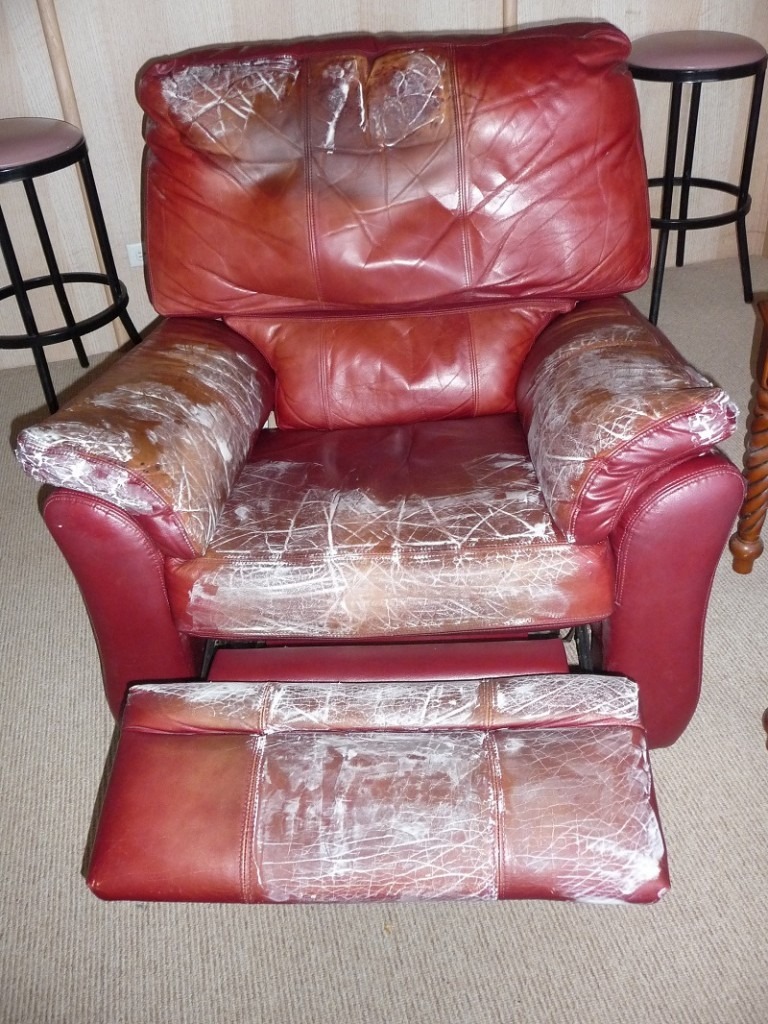
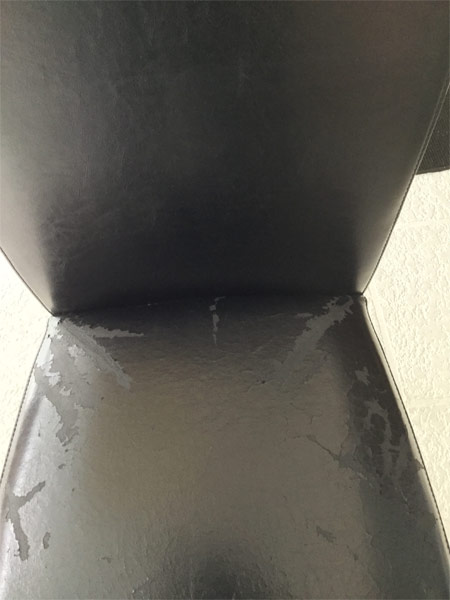
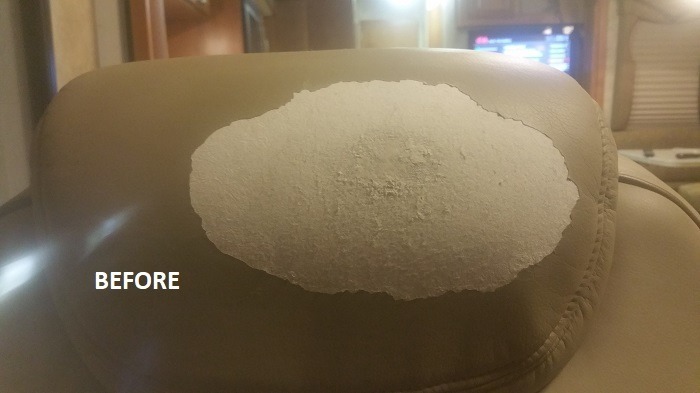
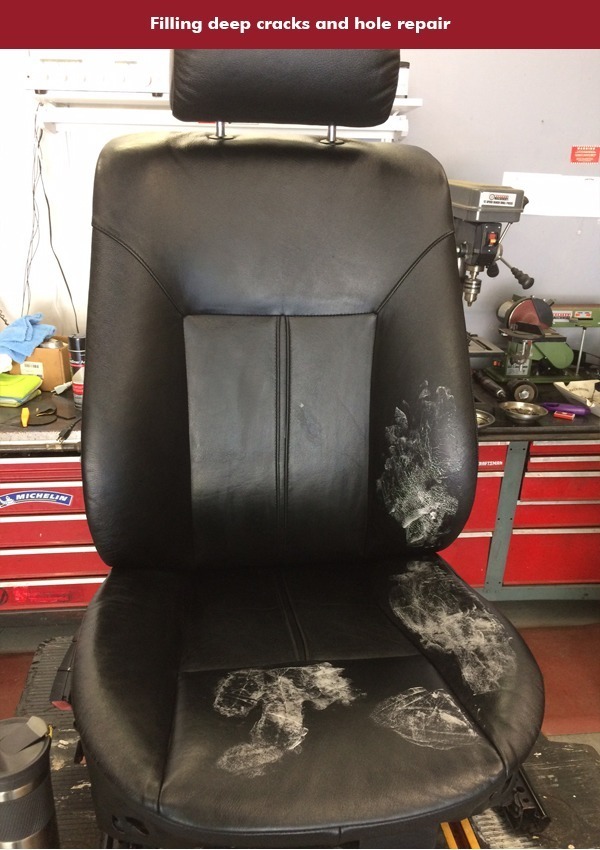
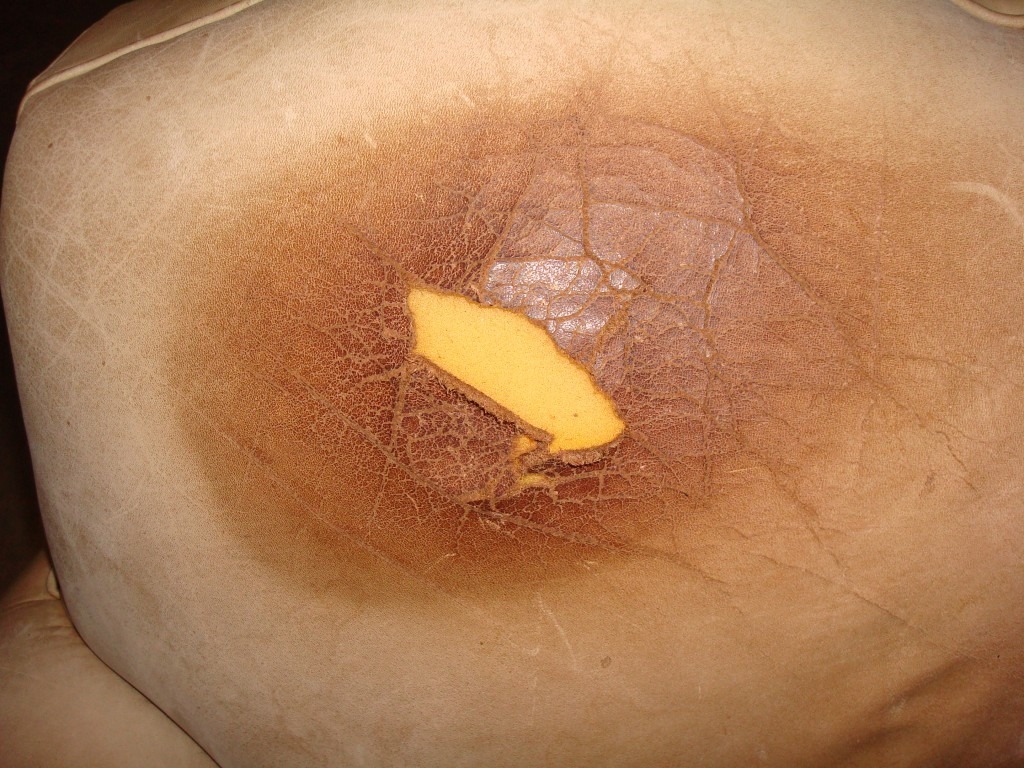
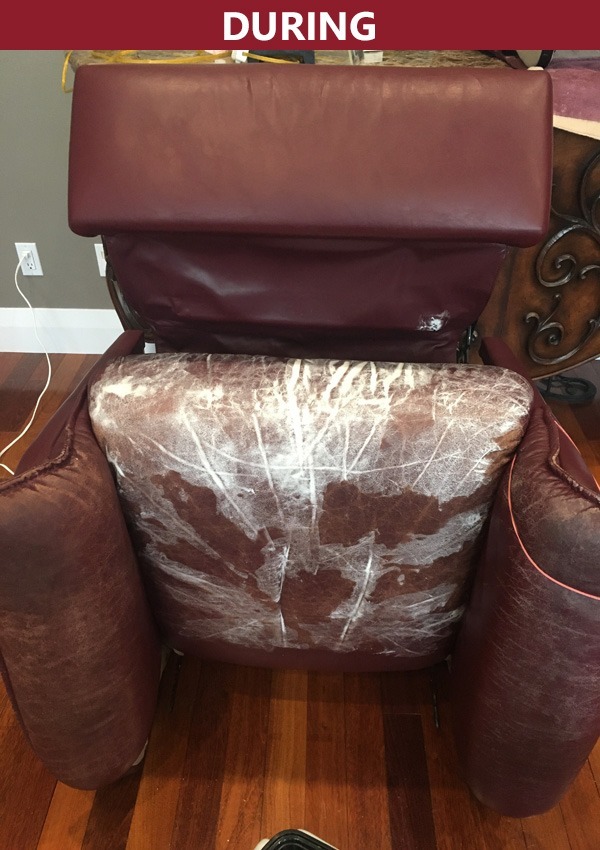
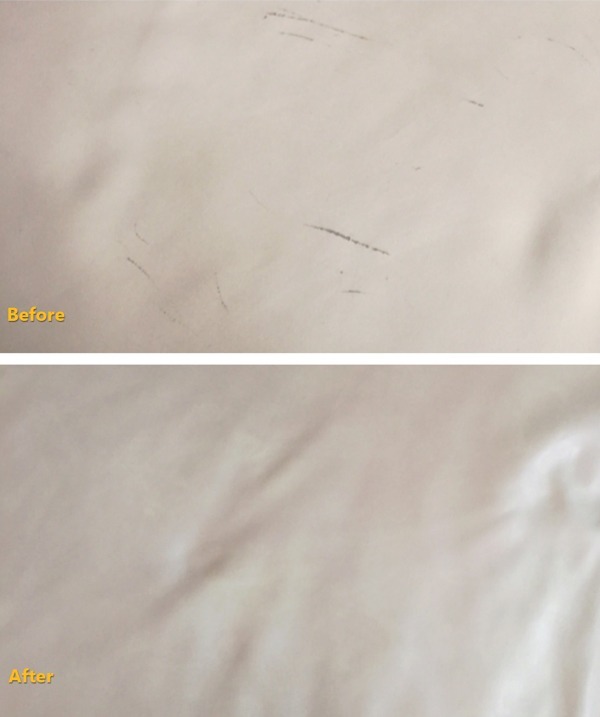
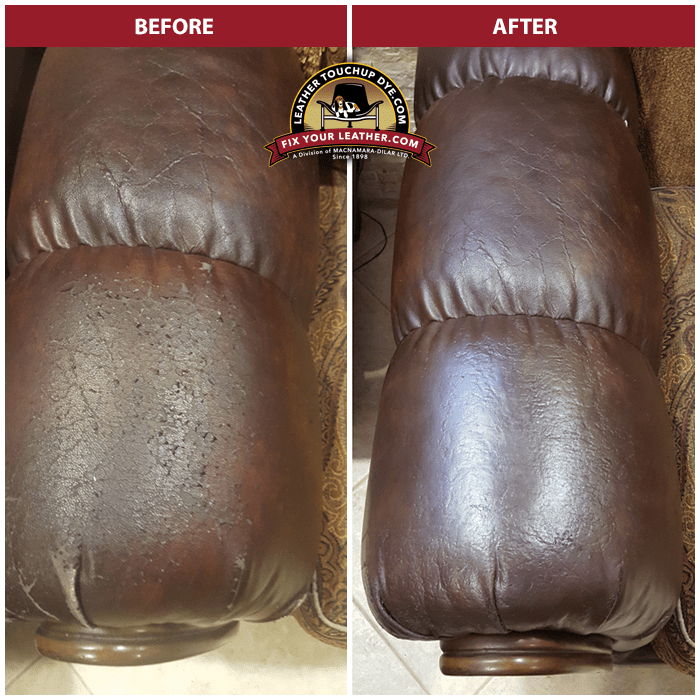
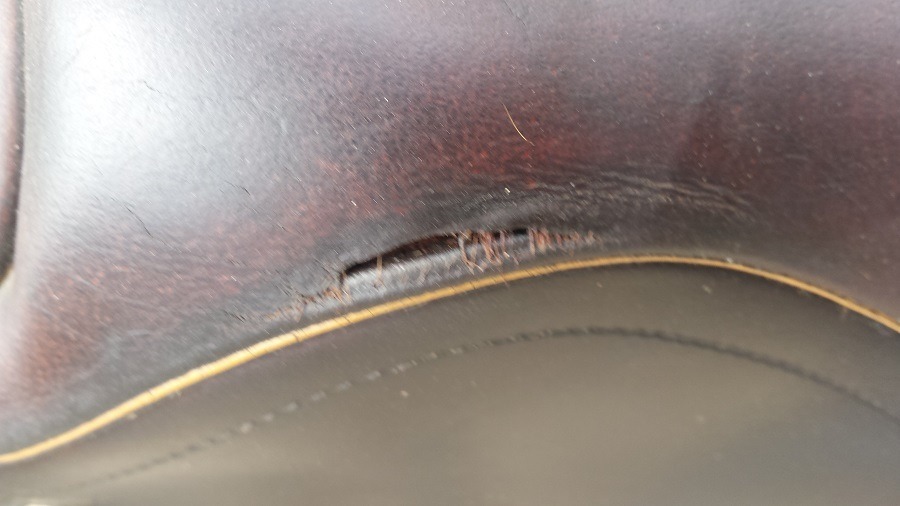
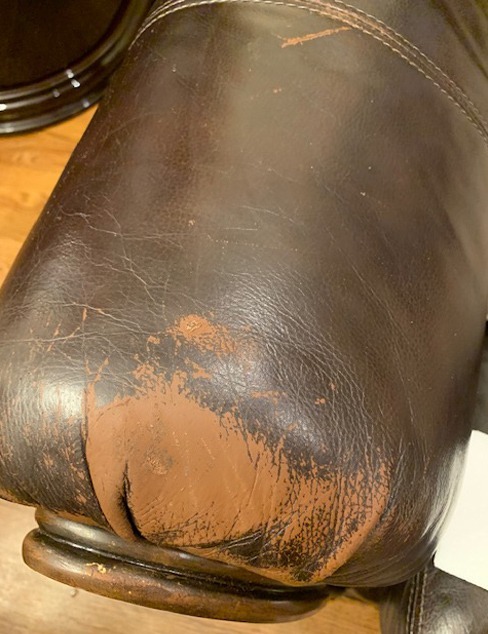
- Apply a small amount of filler into the crack or void. Scrape off any excess filler so only the cracks or deep scratches are filled, level with the surface. Let dry overnight.
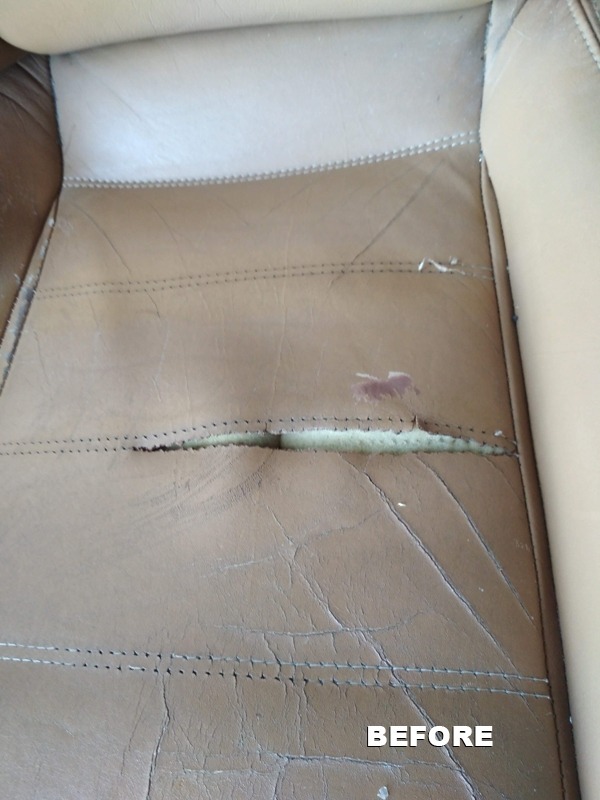
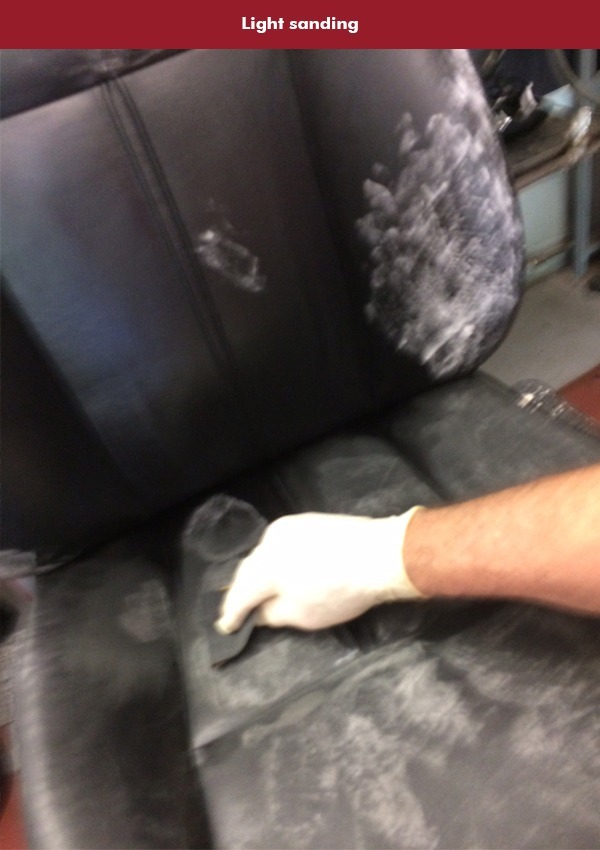
- Once dried and cured, if the area feels slightly rough, lightly sand to make it smooth with the supplied ultra-grit sandpaper.
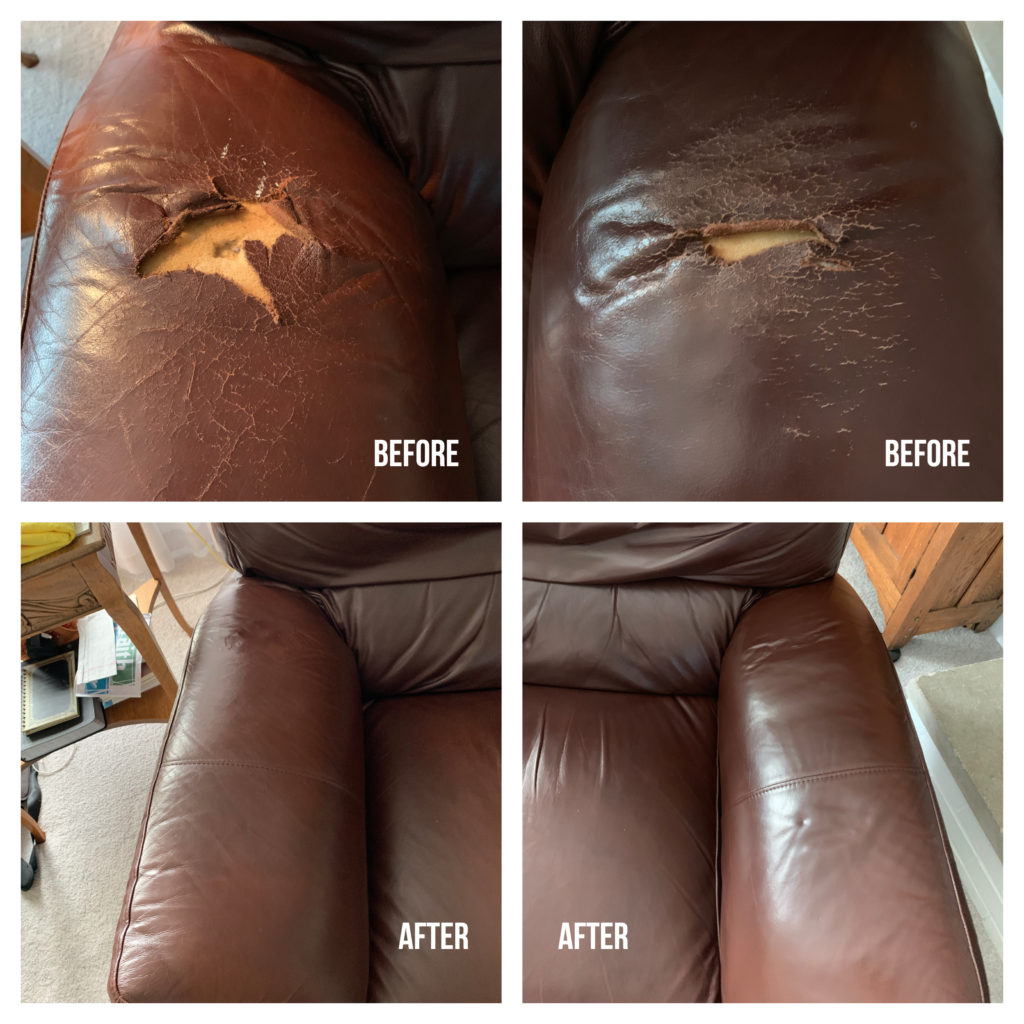
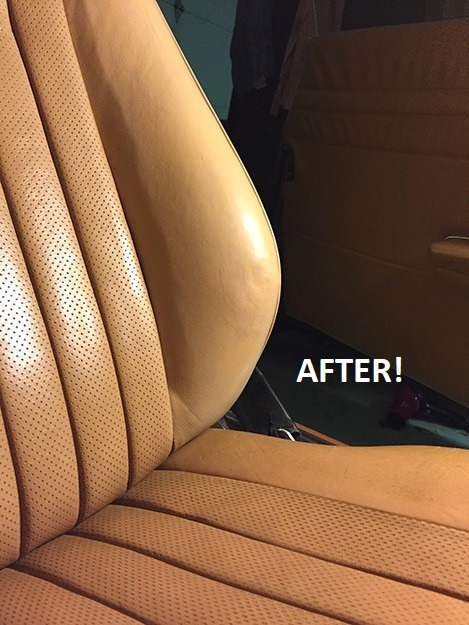
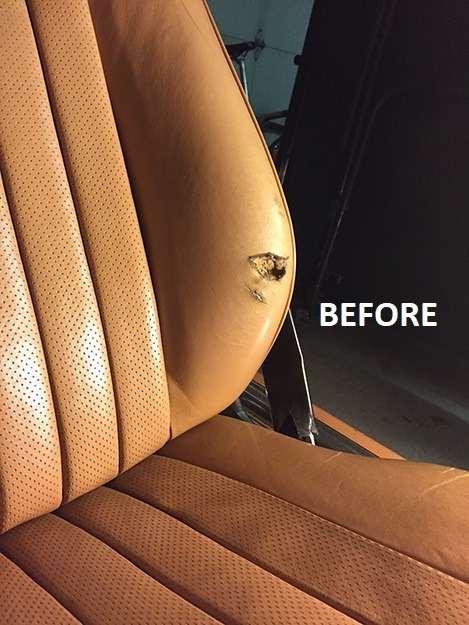
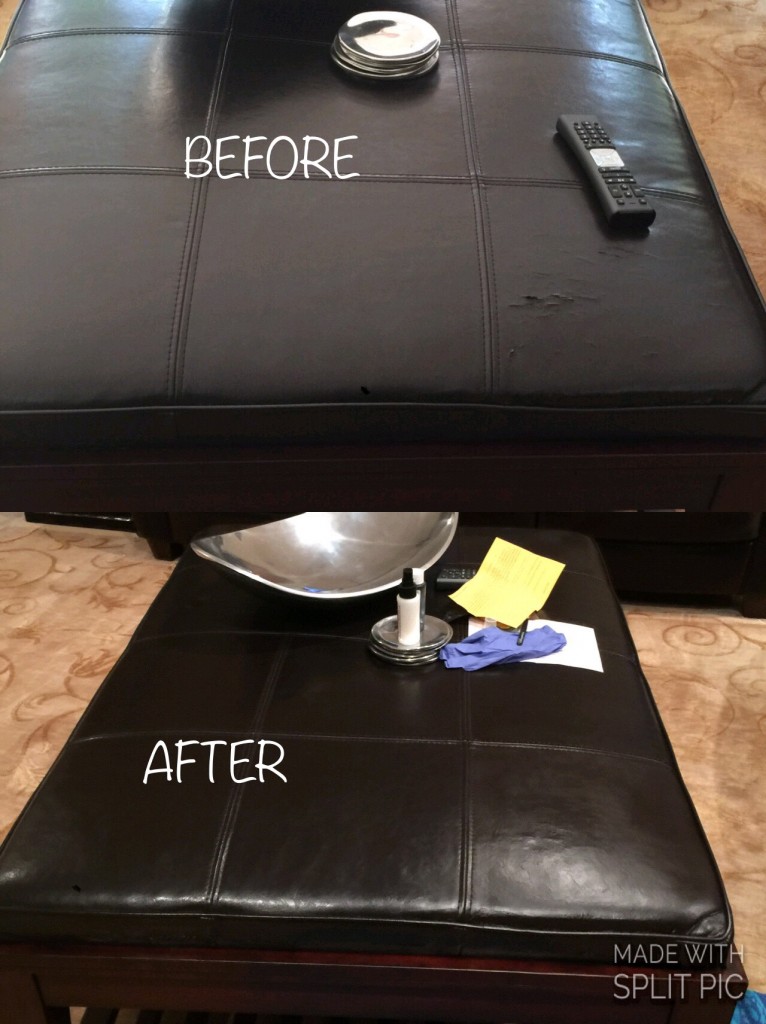
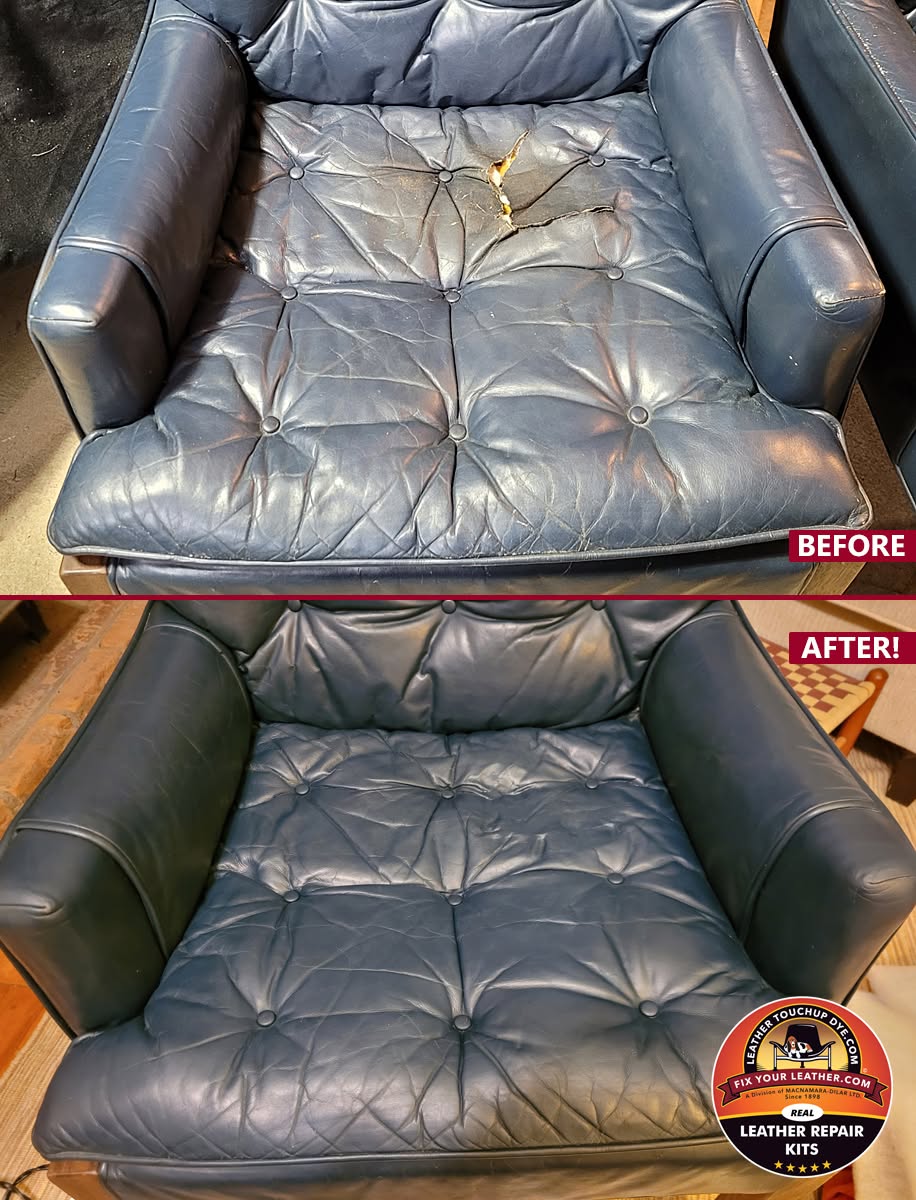
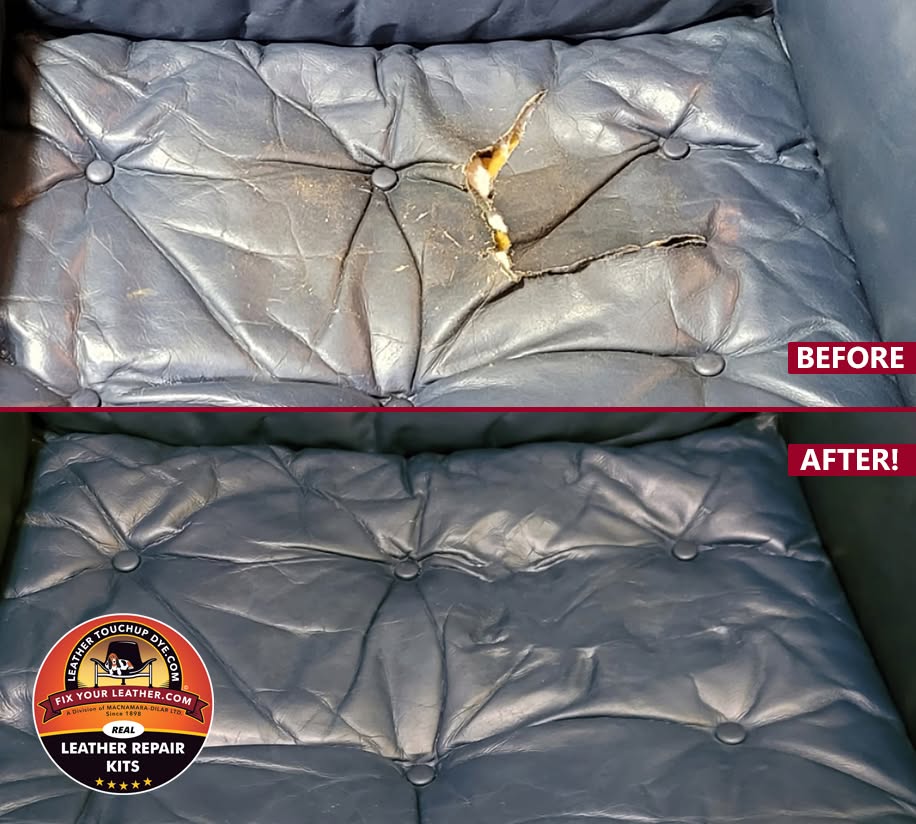
For Rips or Tears That Go Through the Leather
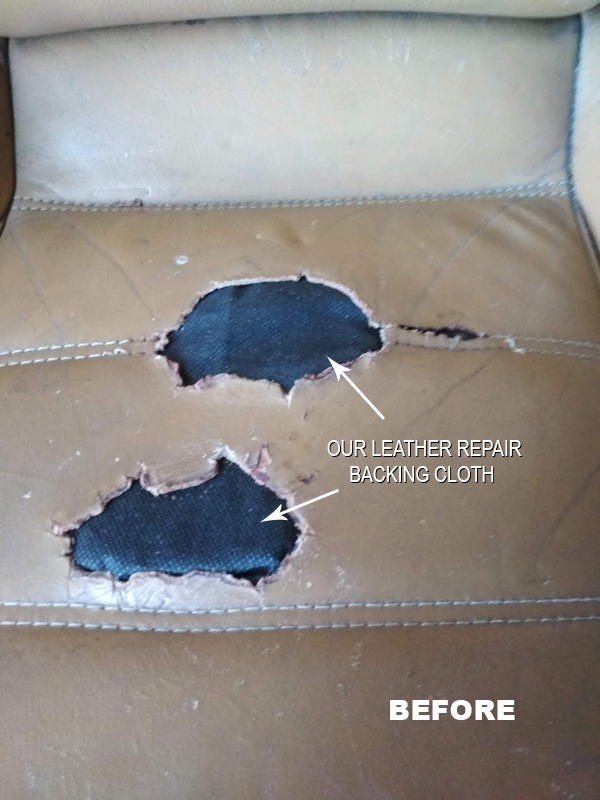
- Cut a piece of leather repair cloth 50% bigger than the rip. Center the cloth under the rip and make sure it is lying flat. The palette knife can be used to help you position the cloth.
- Apply leather filler to the inside lip of the rip or tear, lightly press the leather down to contact
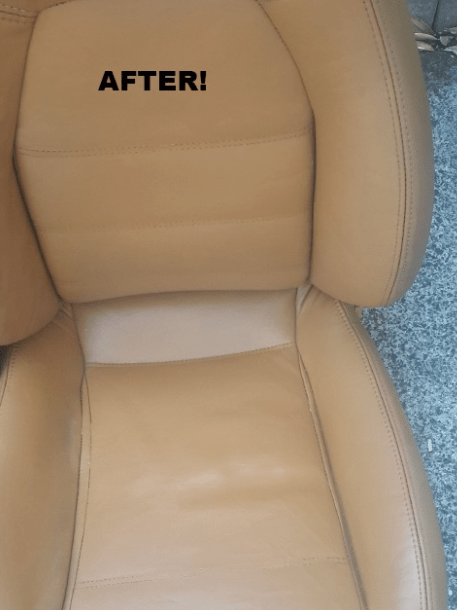
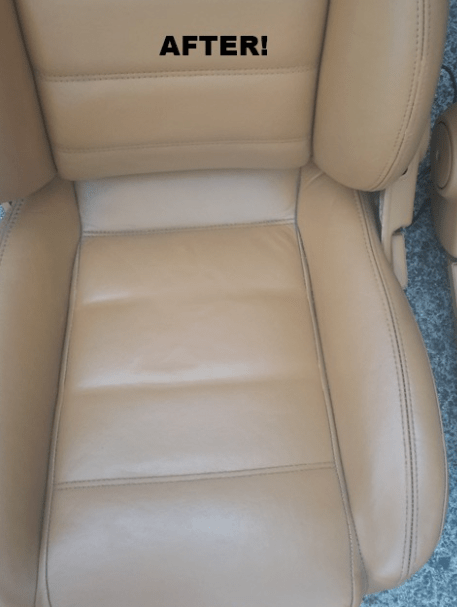
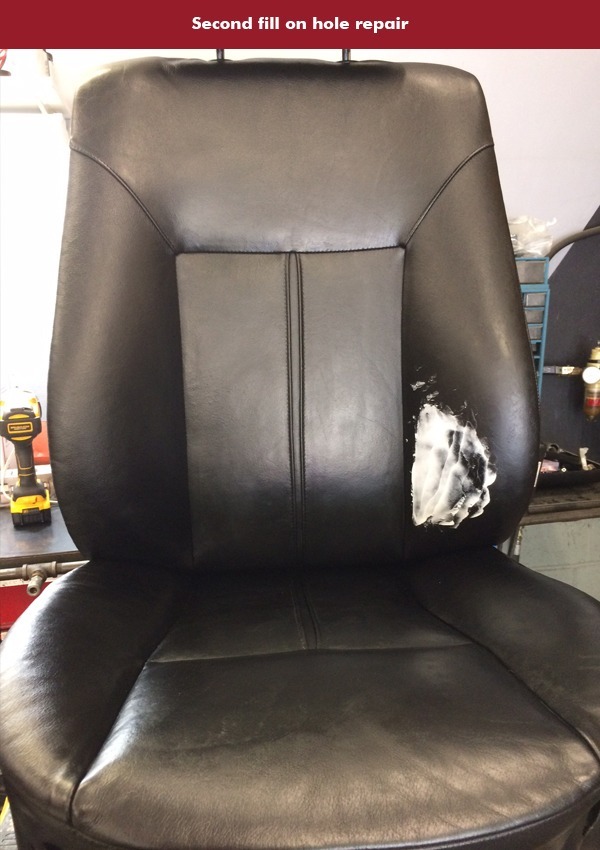
the repair cloth to bond both together. Try to leave a concave void (or valley) in the torn area that will be later filled in. Let dry overnight before the next step. - Apply filler to the ripped area and fill in the concave void (or valley), making the repair level with the surface. Let the area dry overnight before applying the leather dye.
Helpful Tips
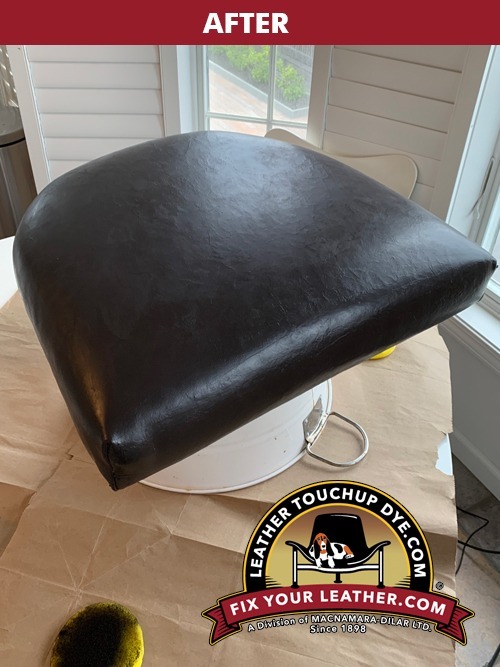
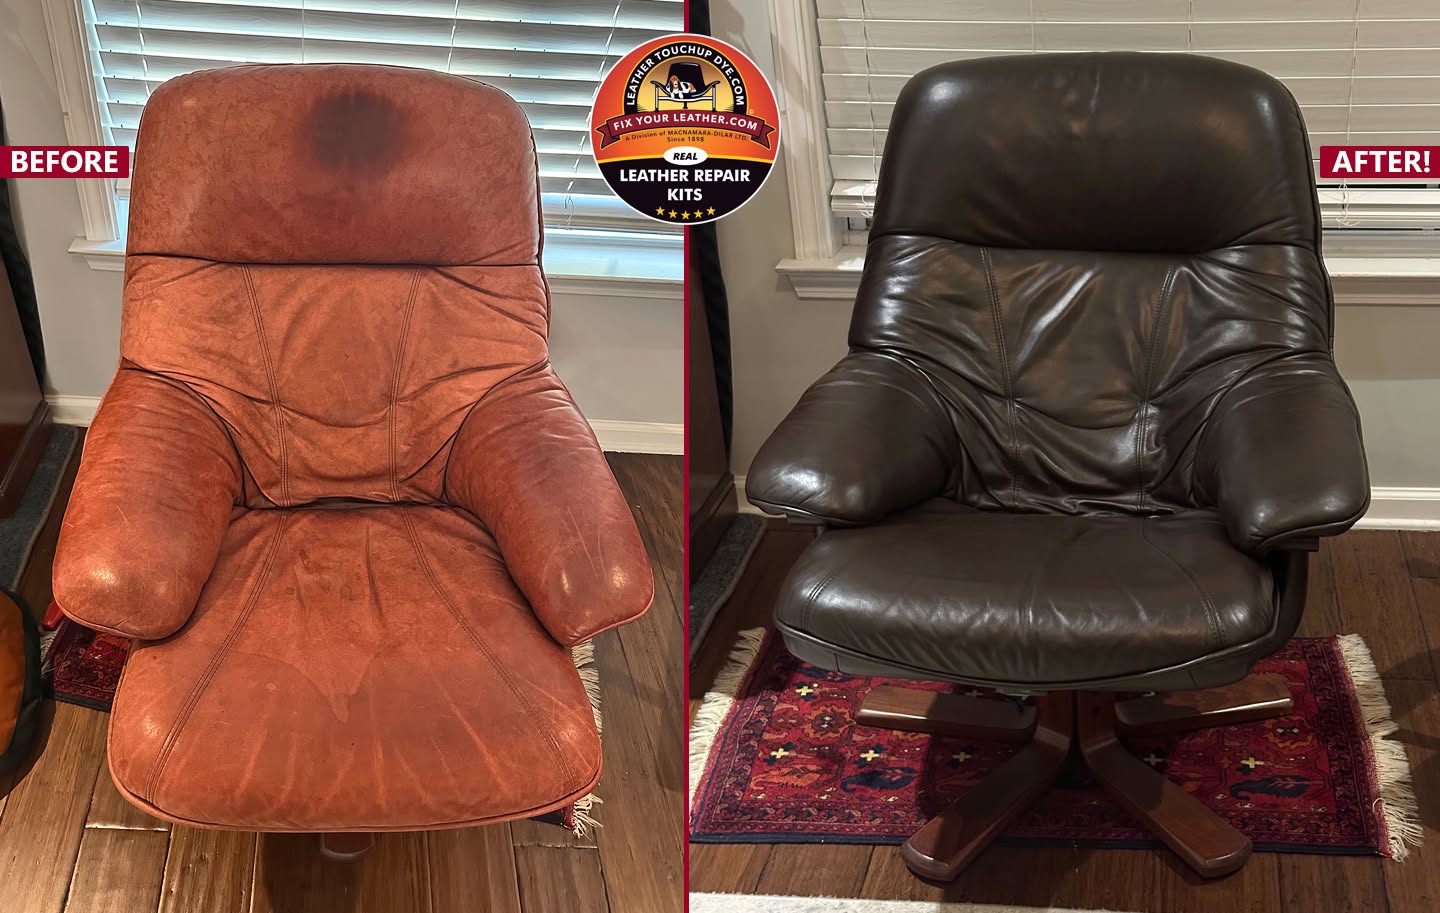
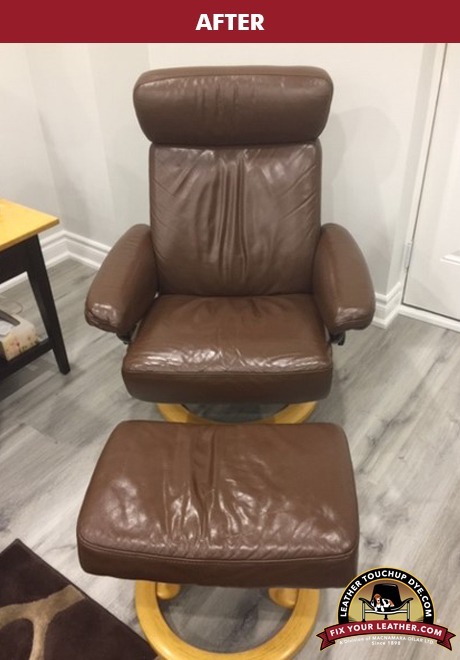
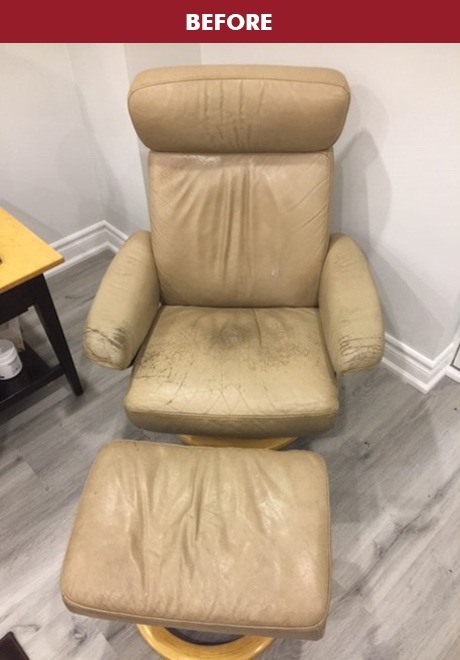
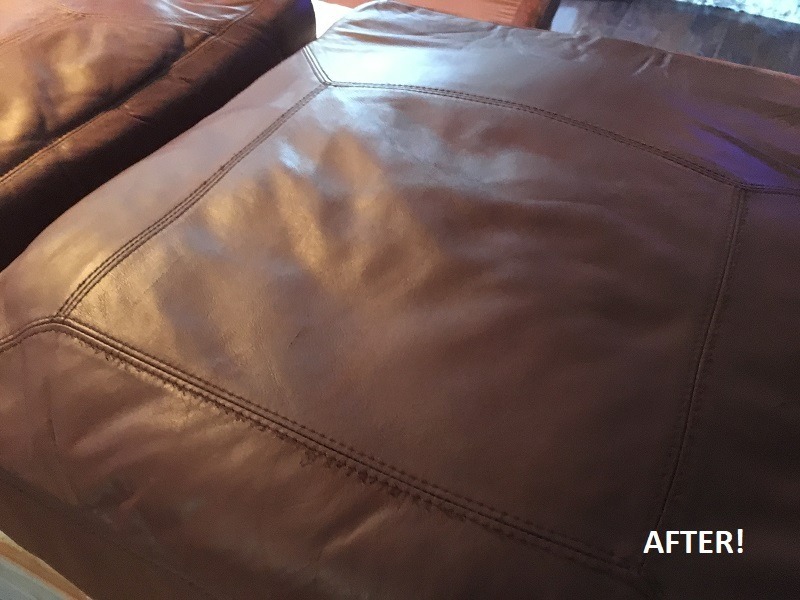
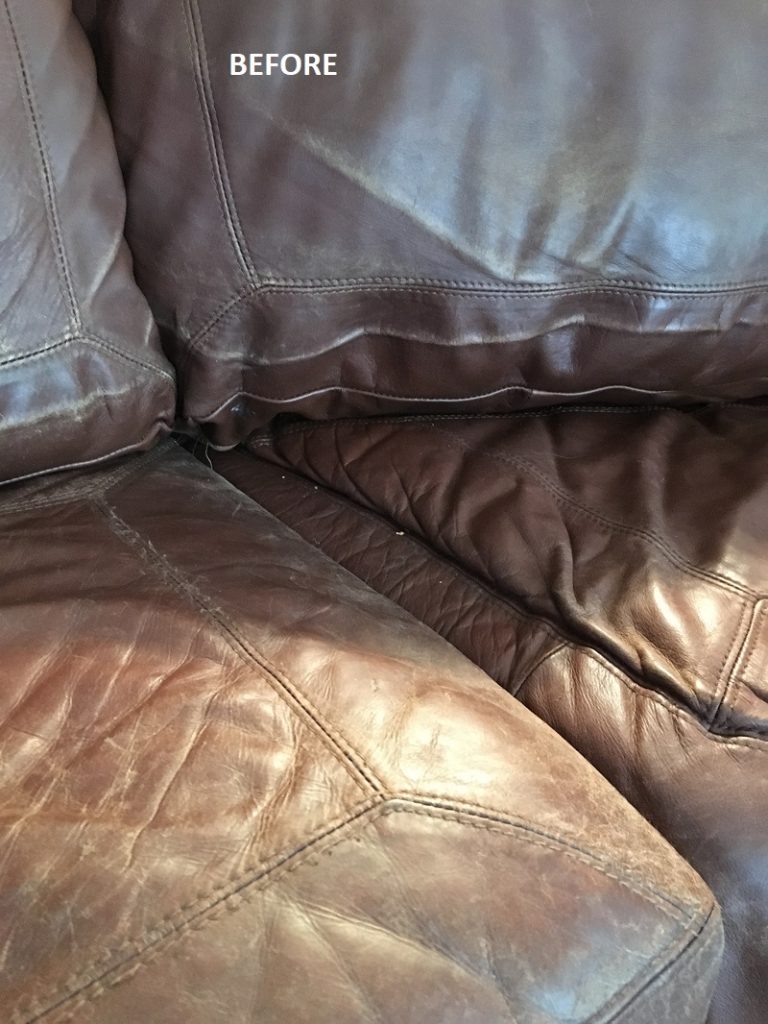
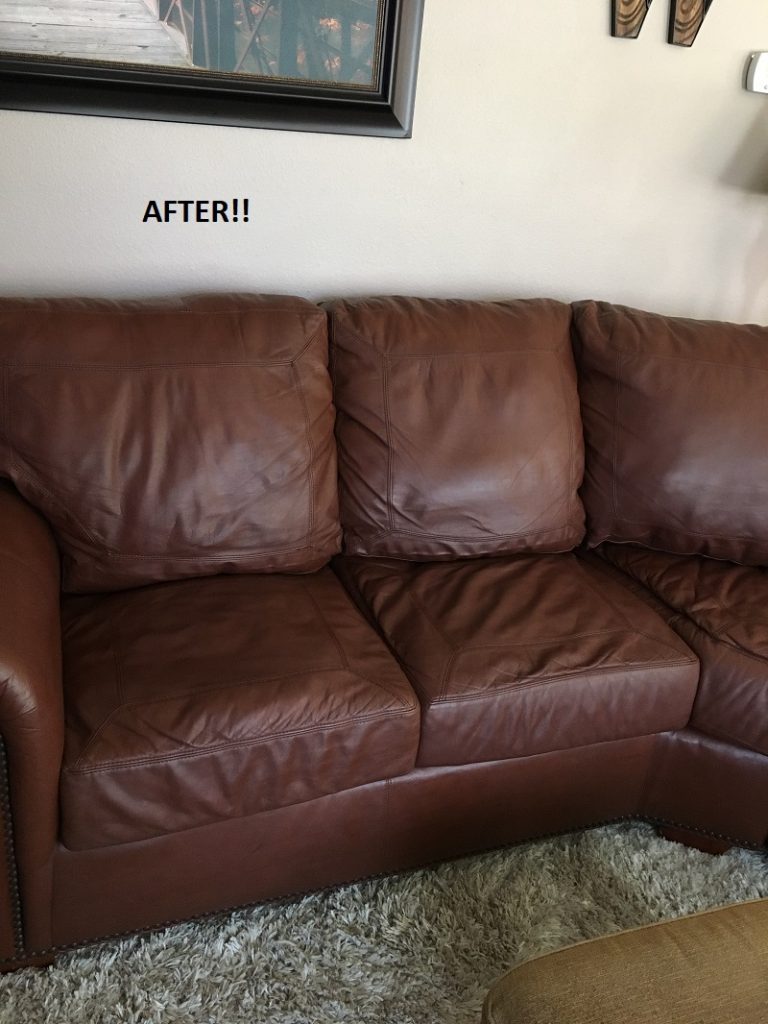
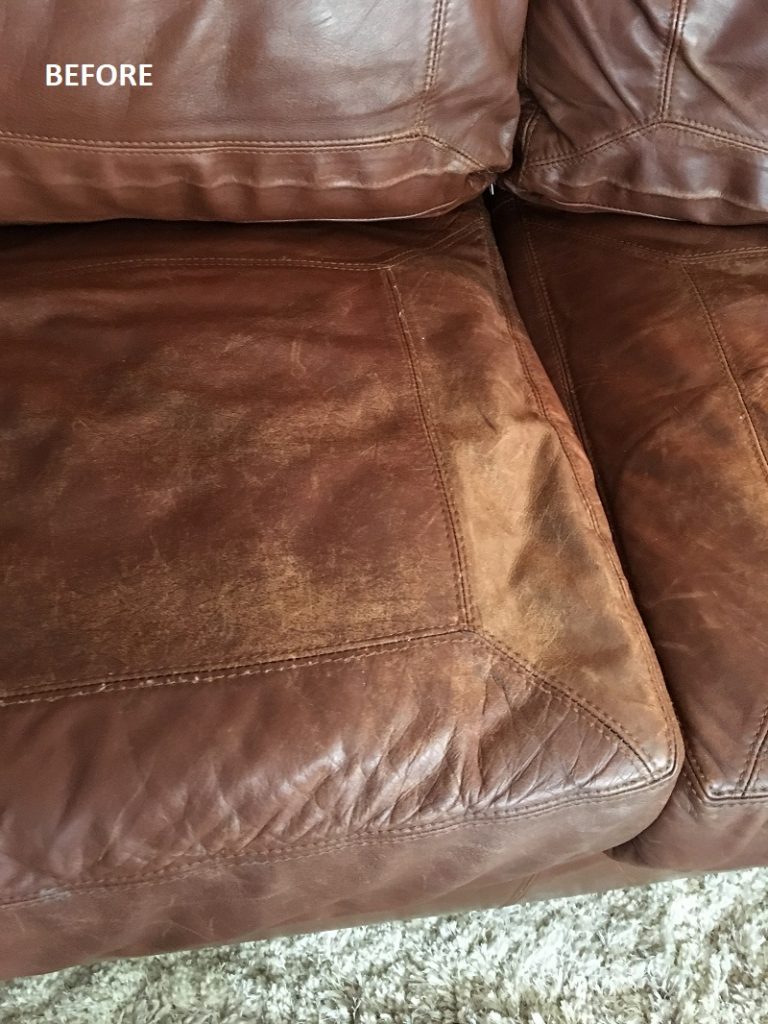
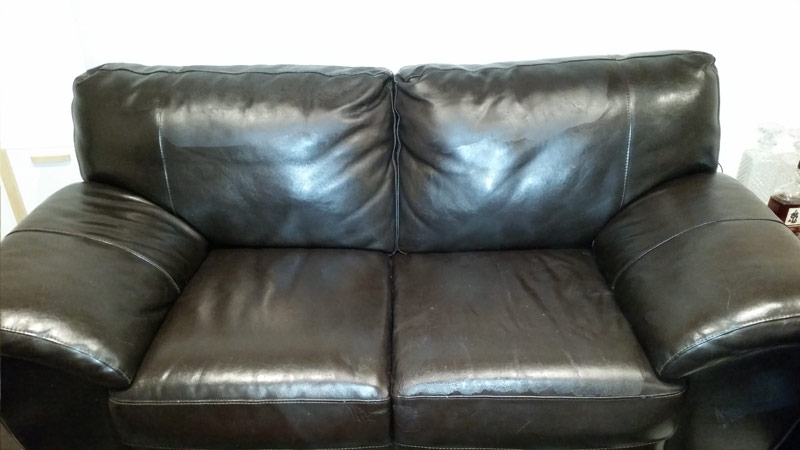
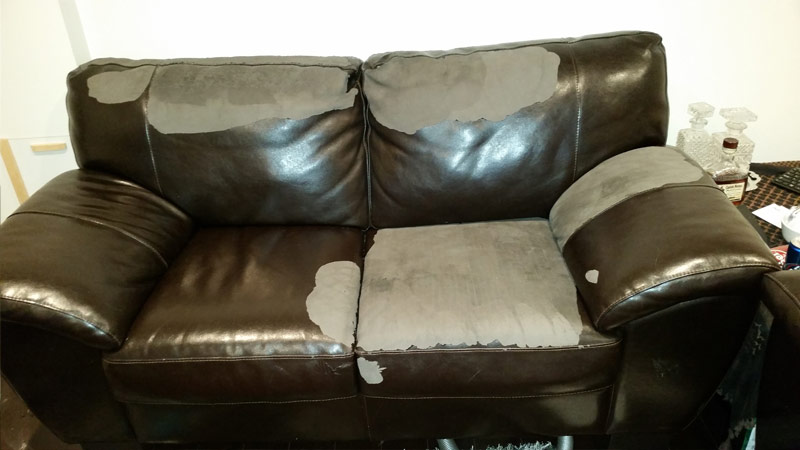
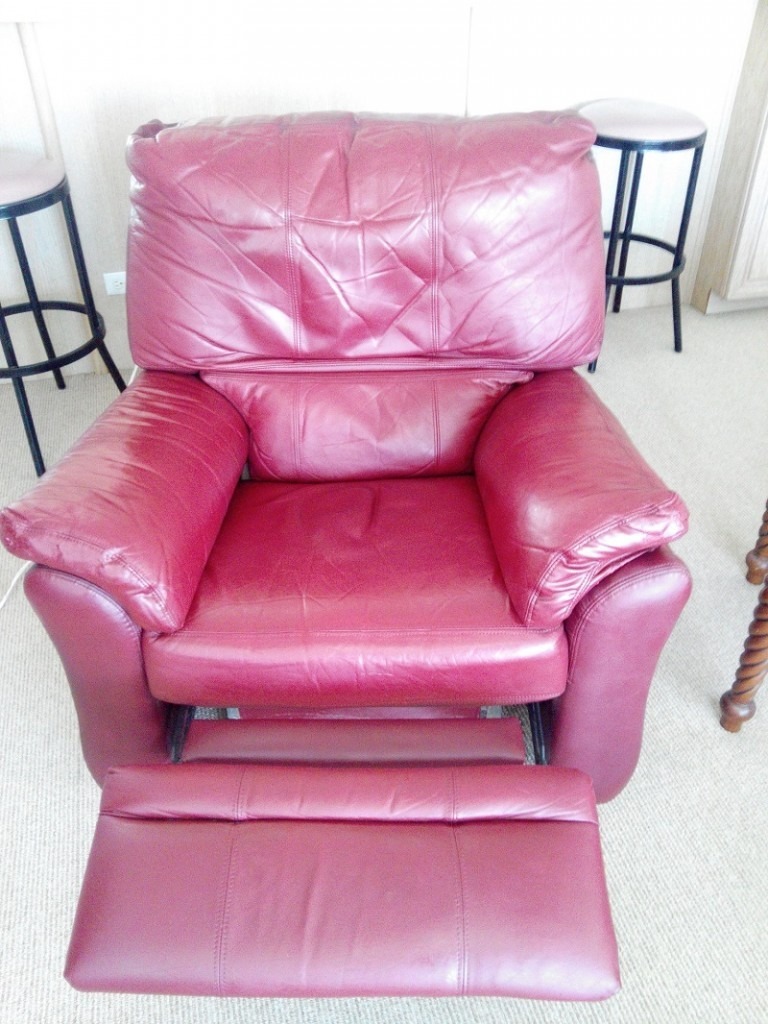
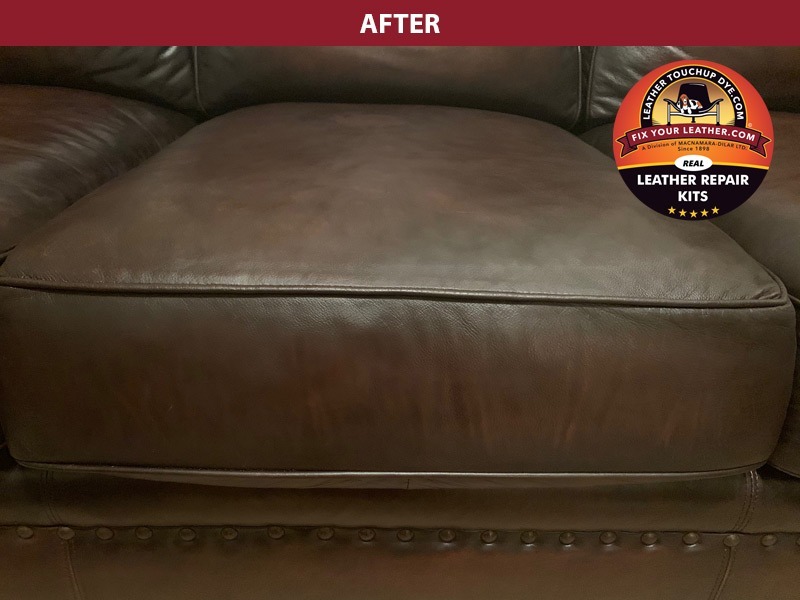
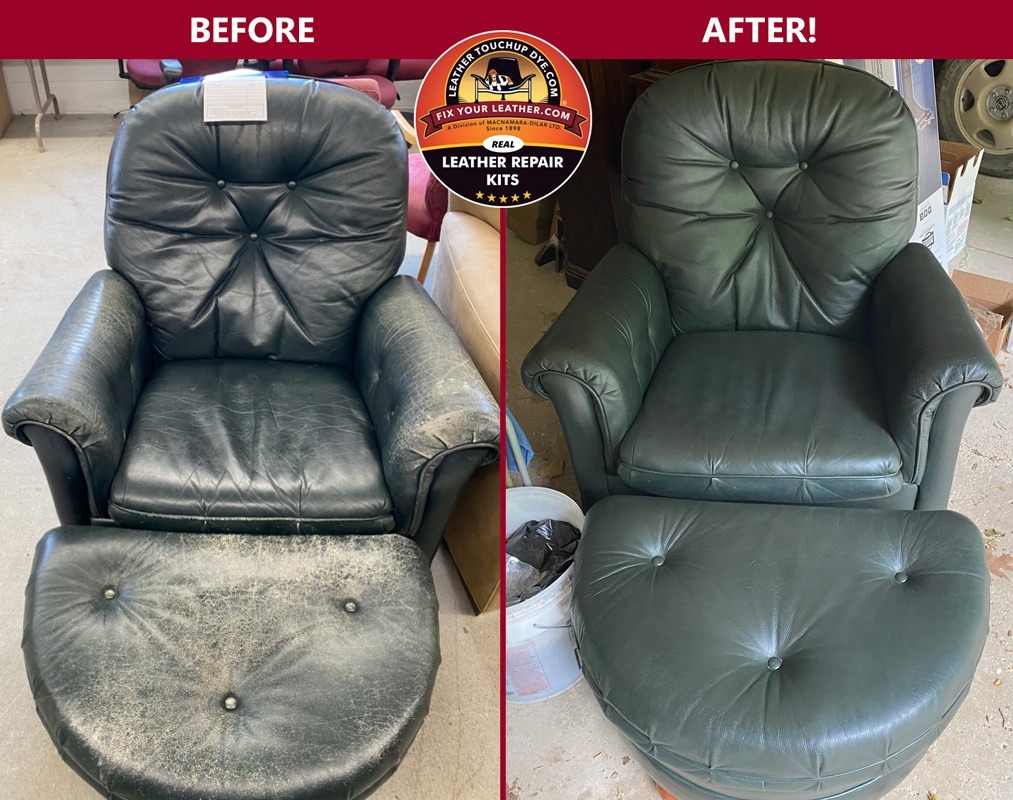
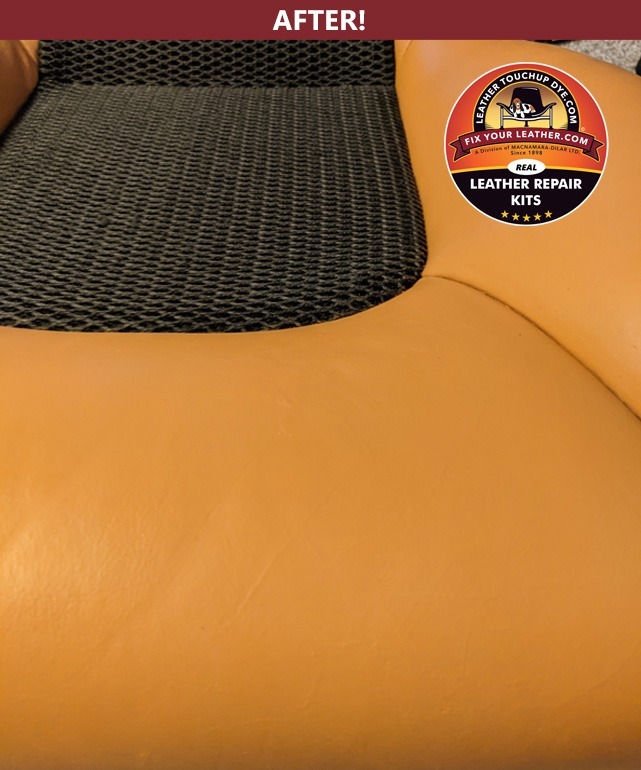
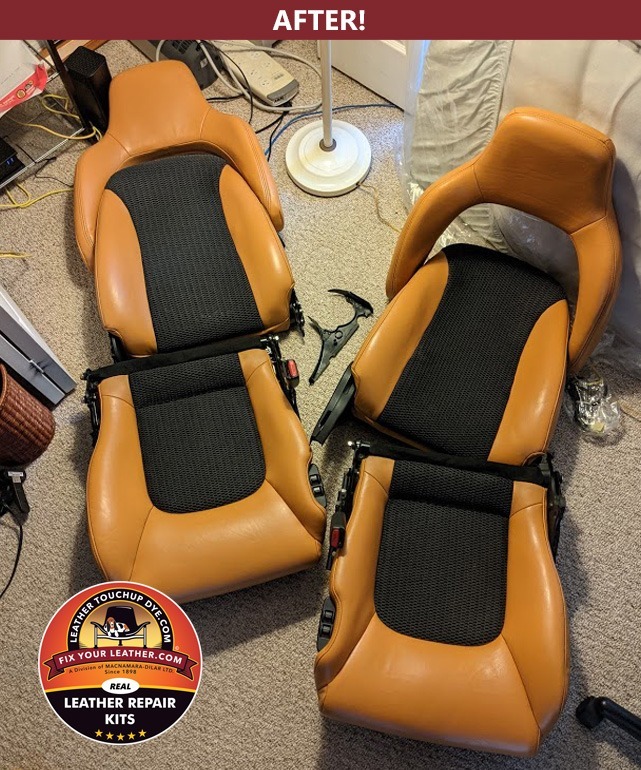
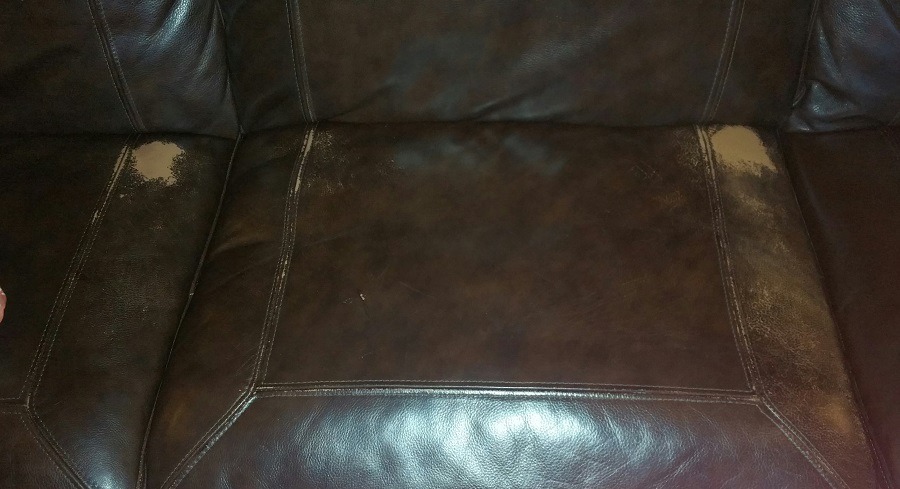
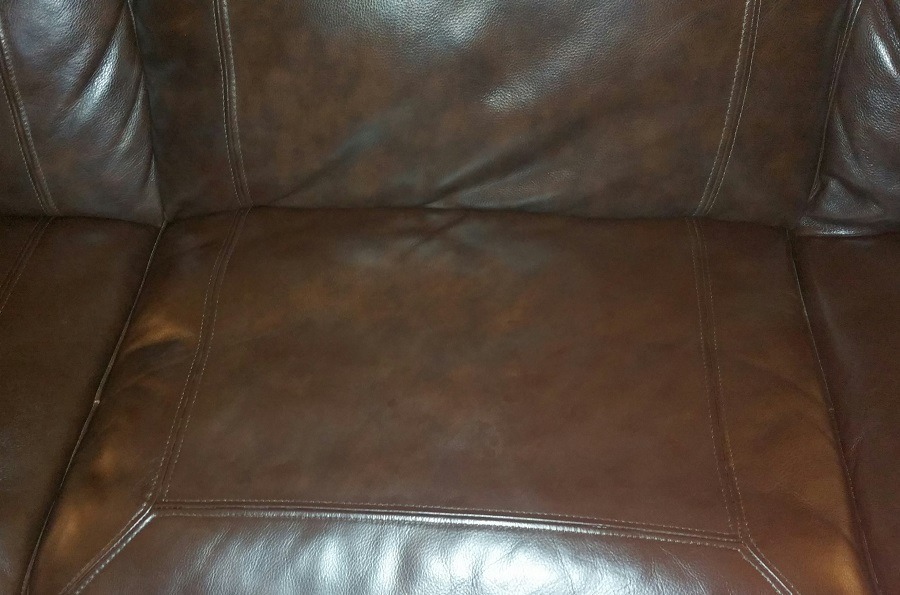
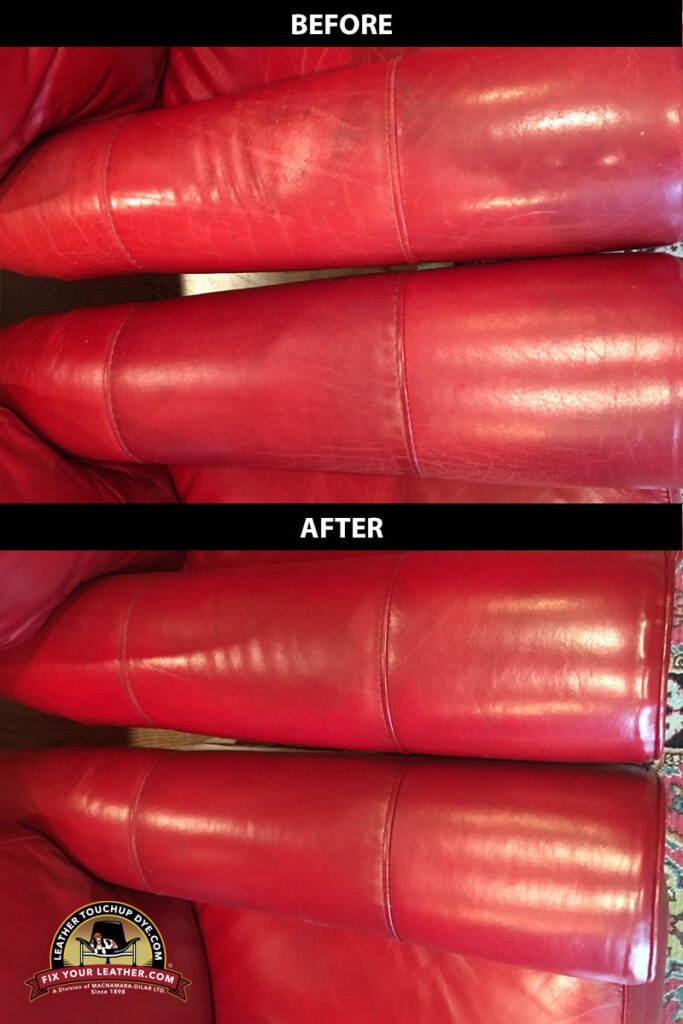
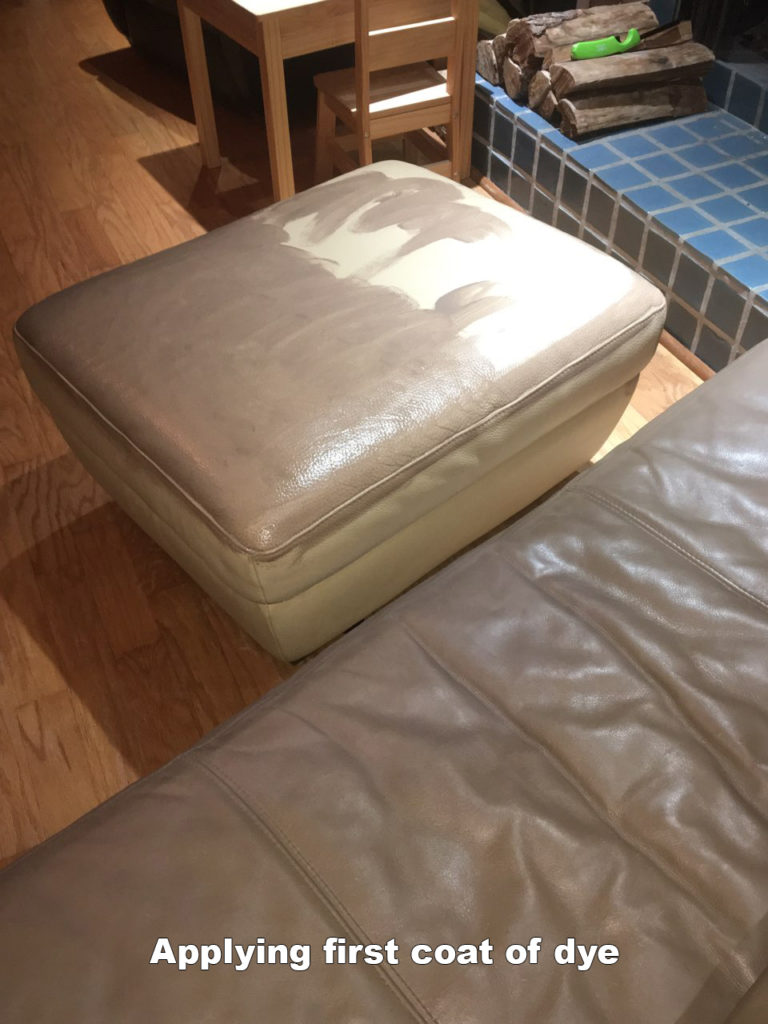
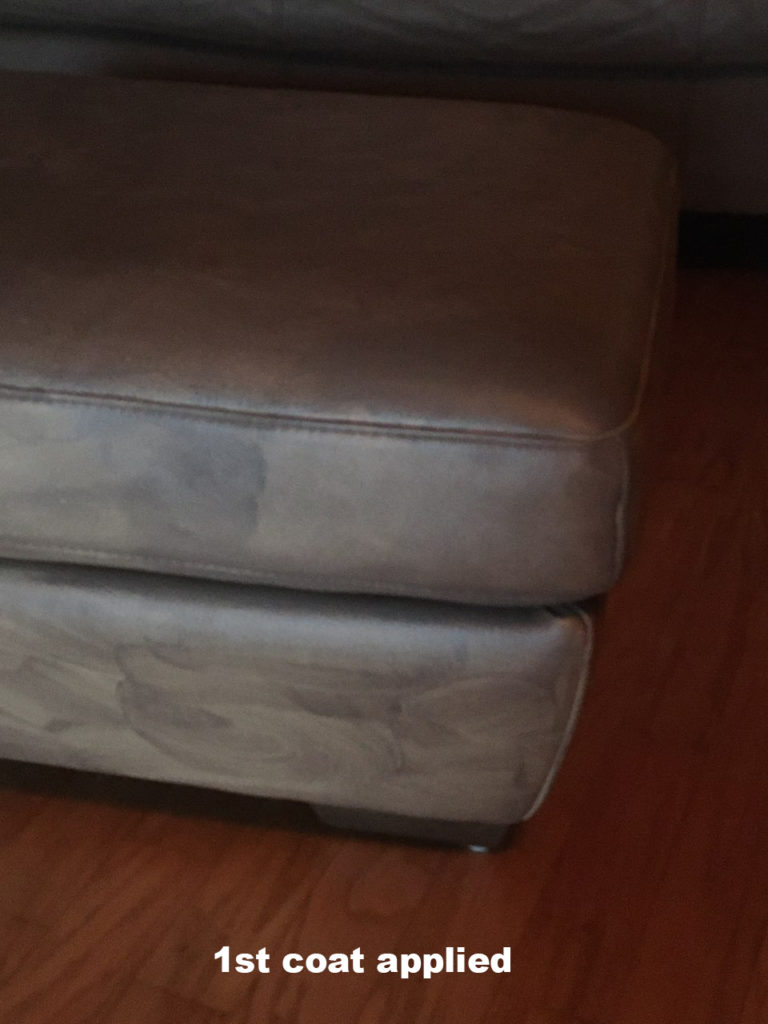
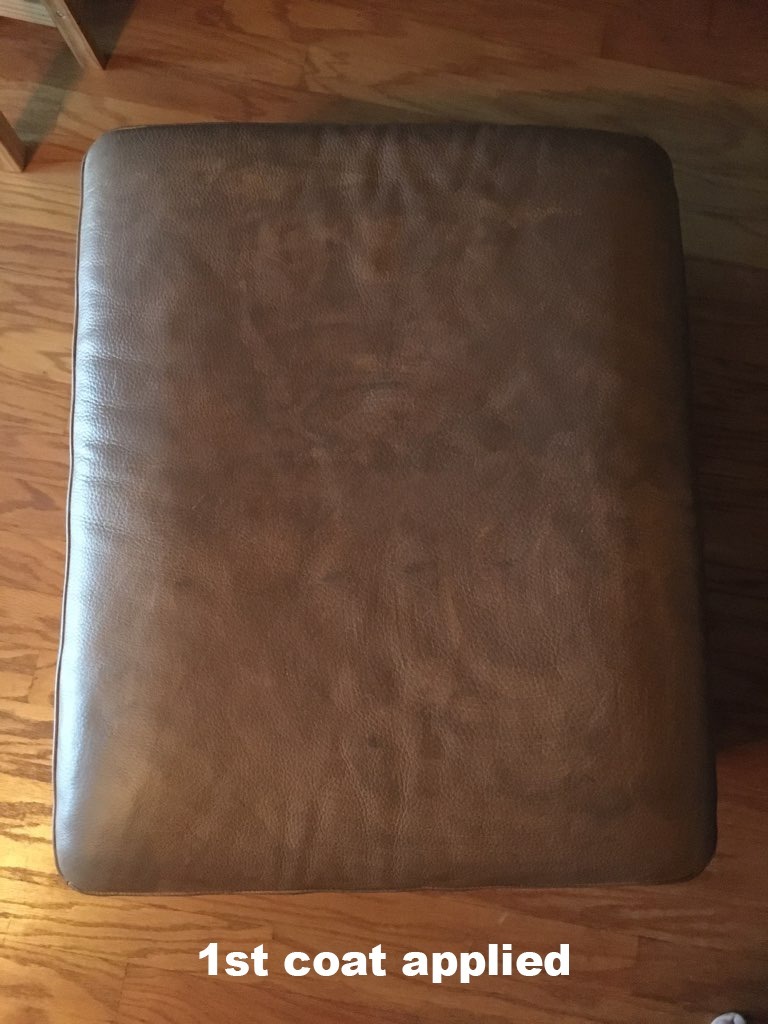
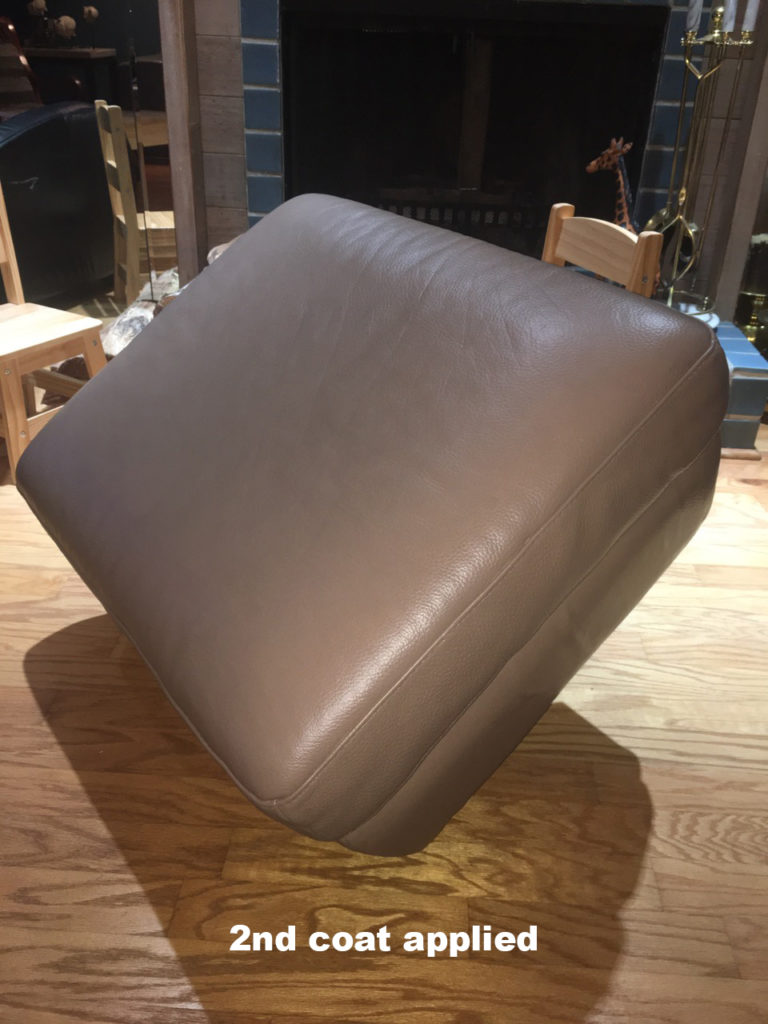
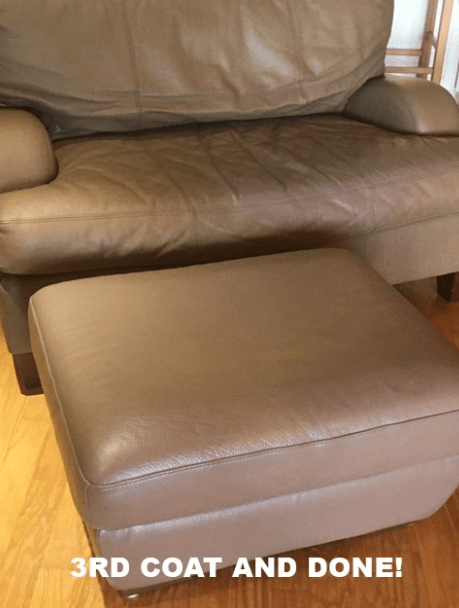
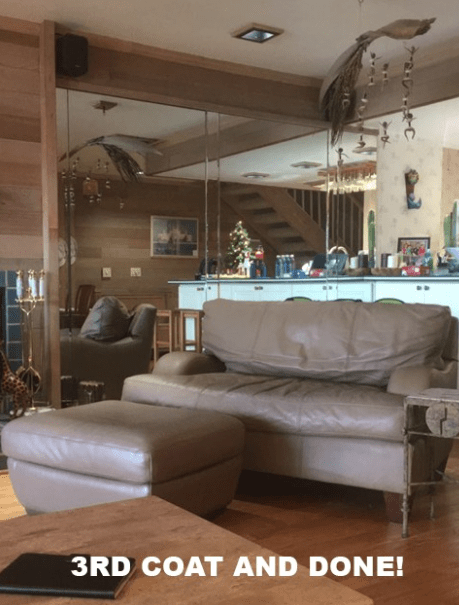
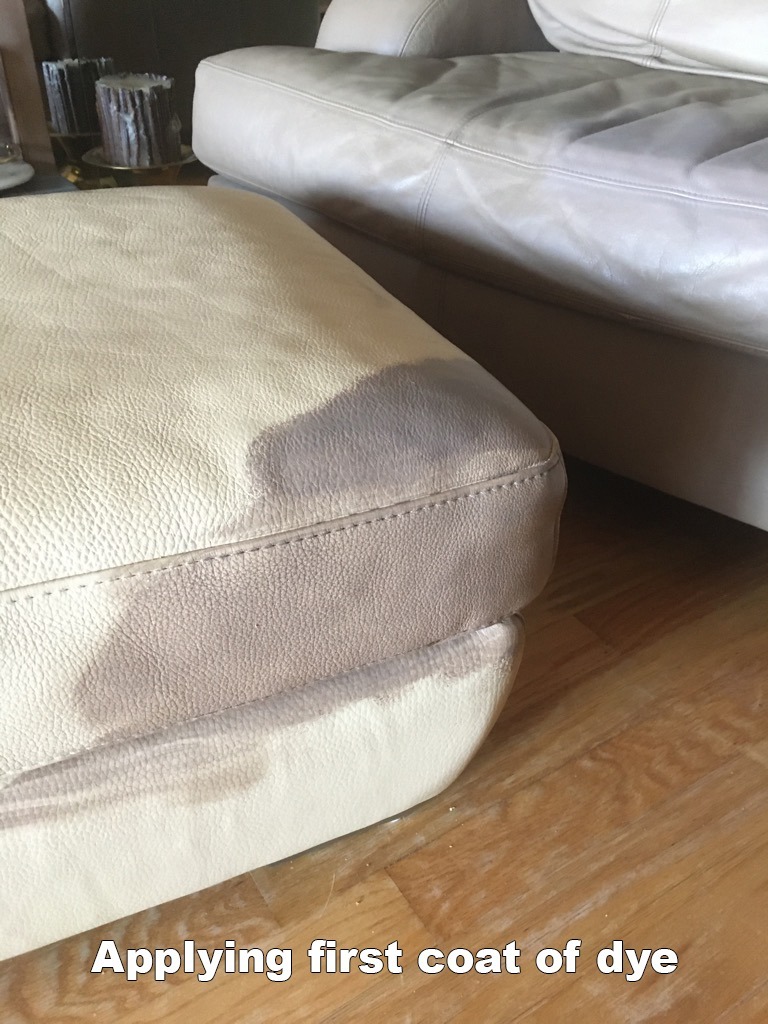
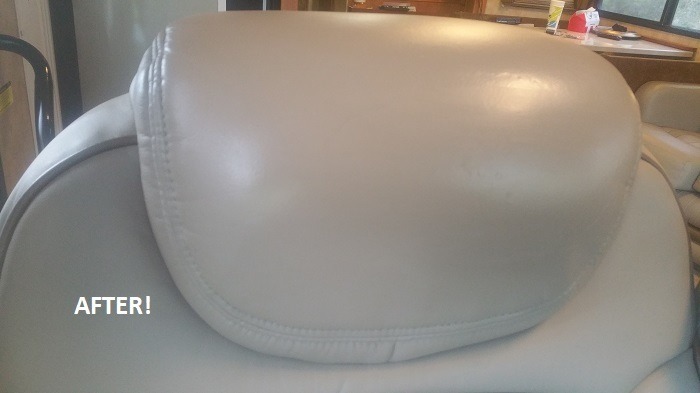
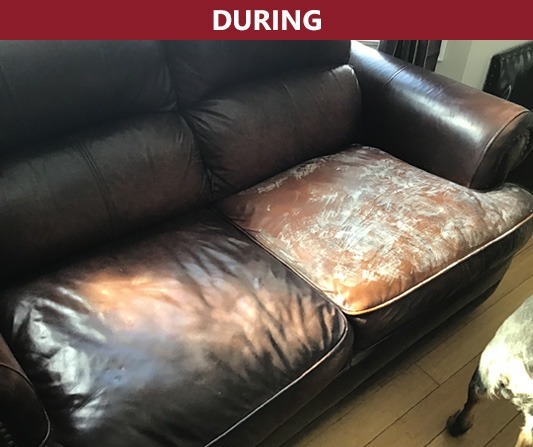
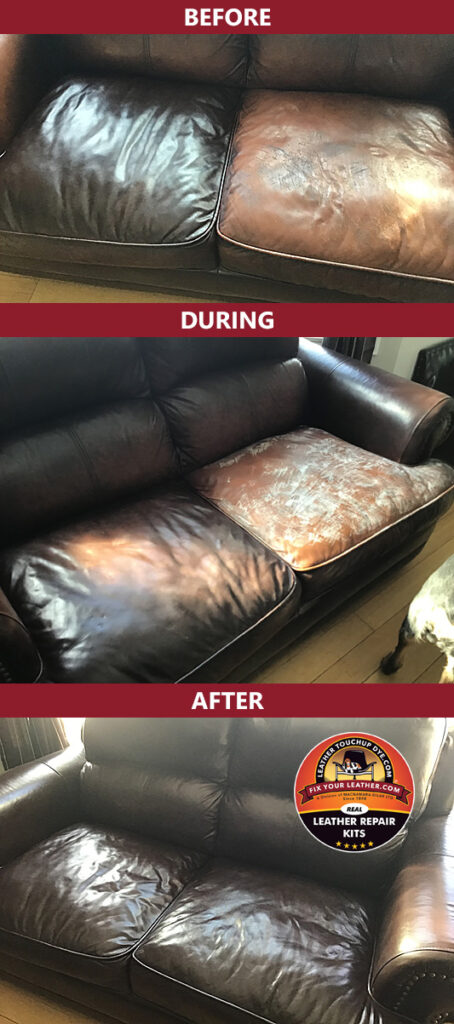
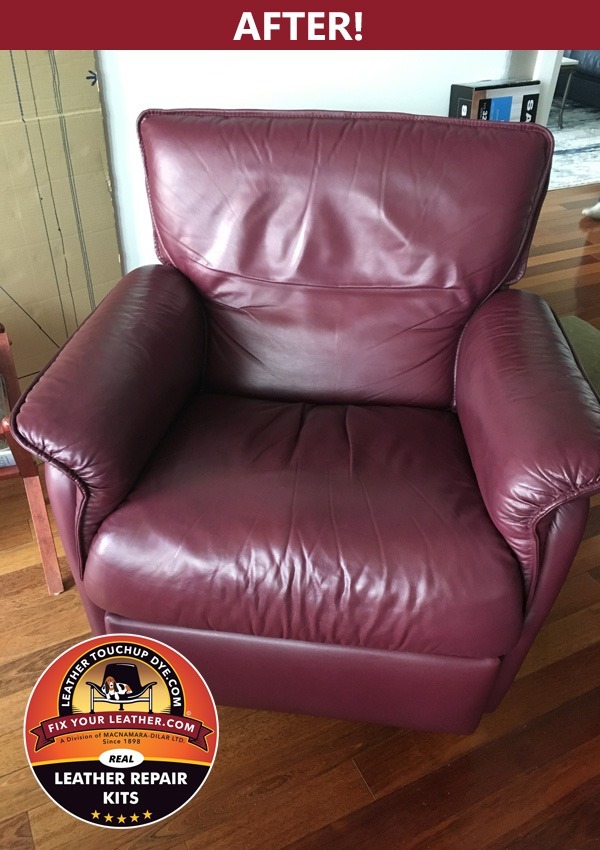
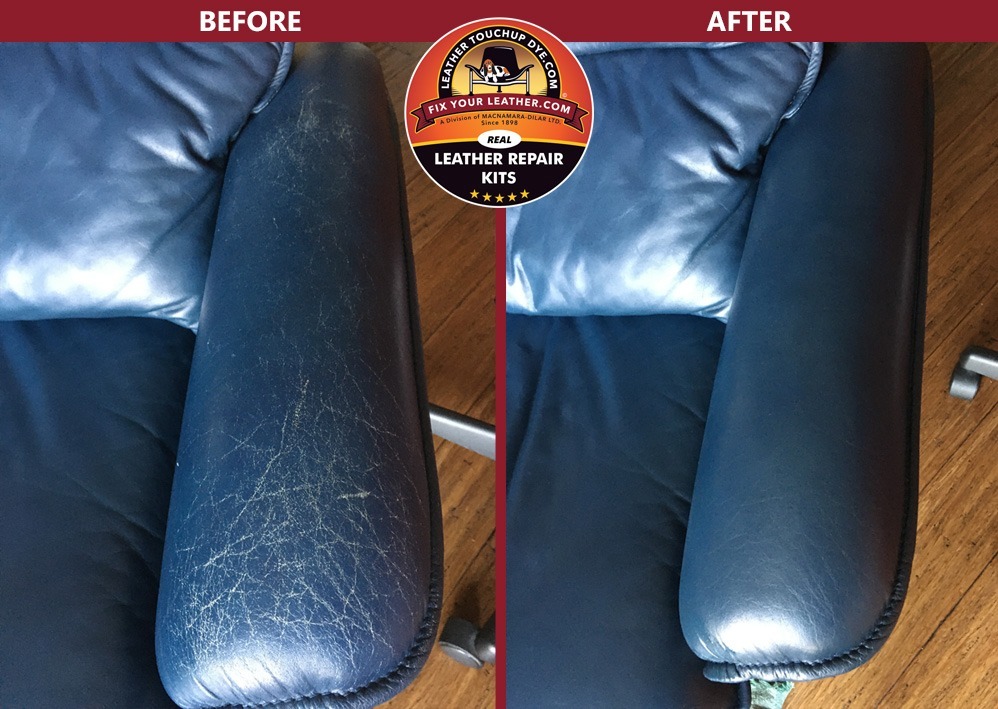
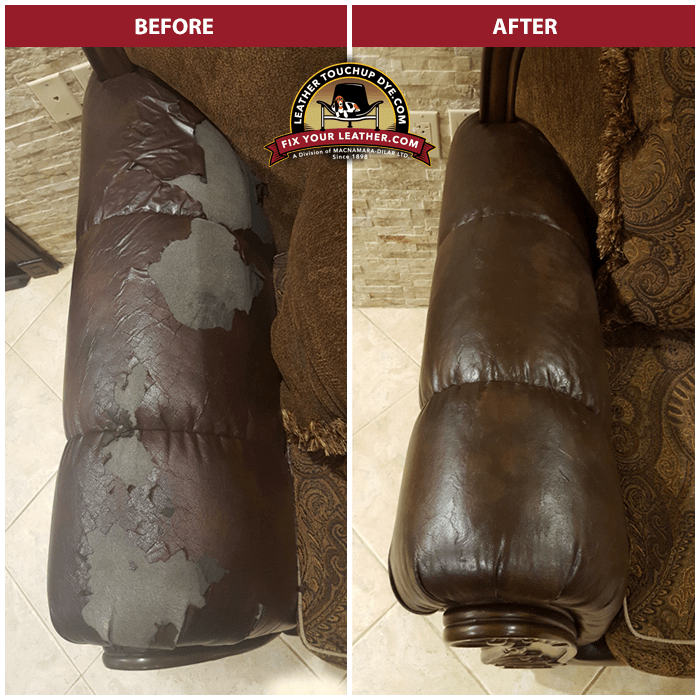
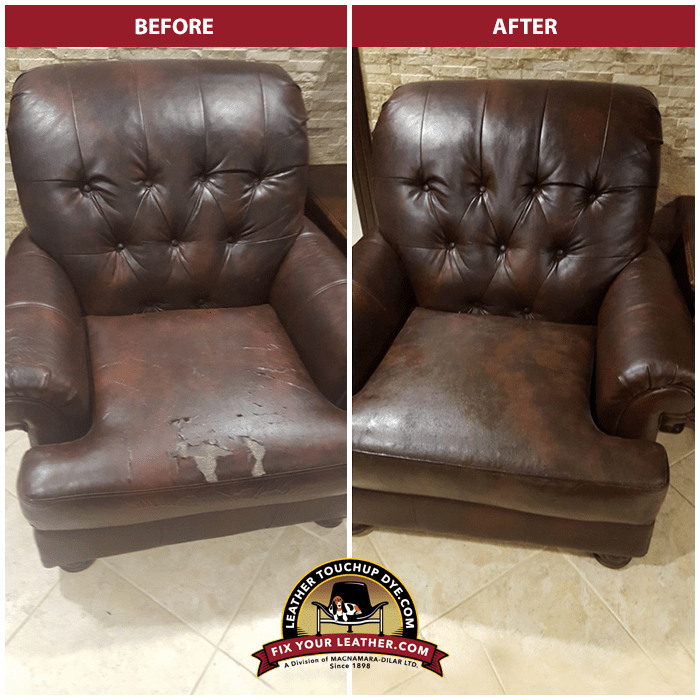
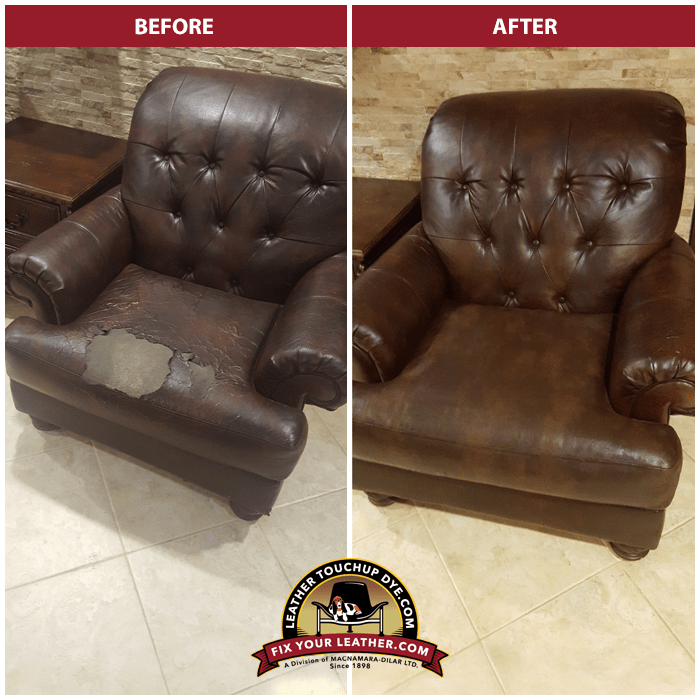
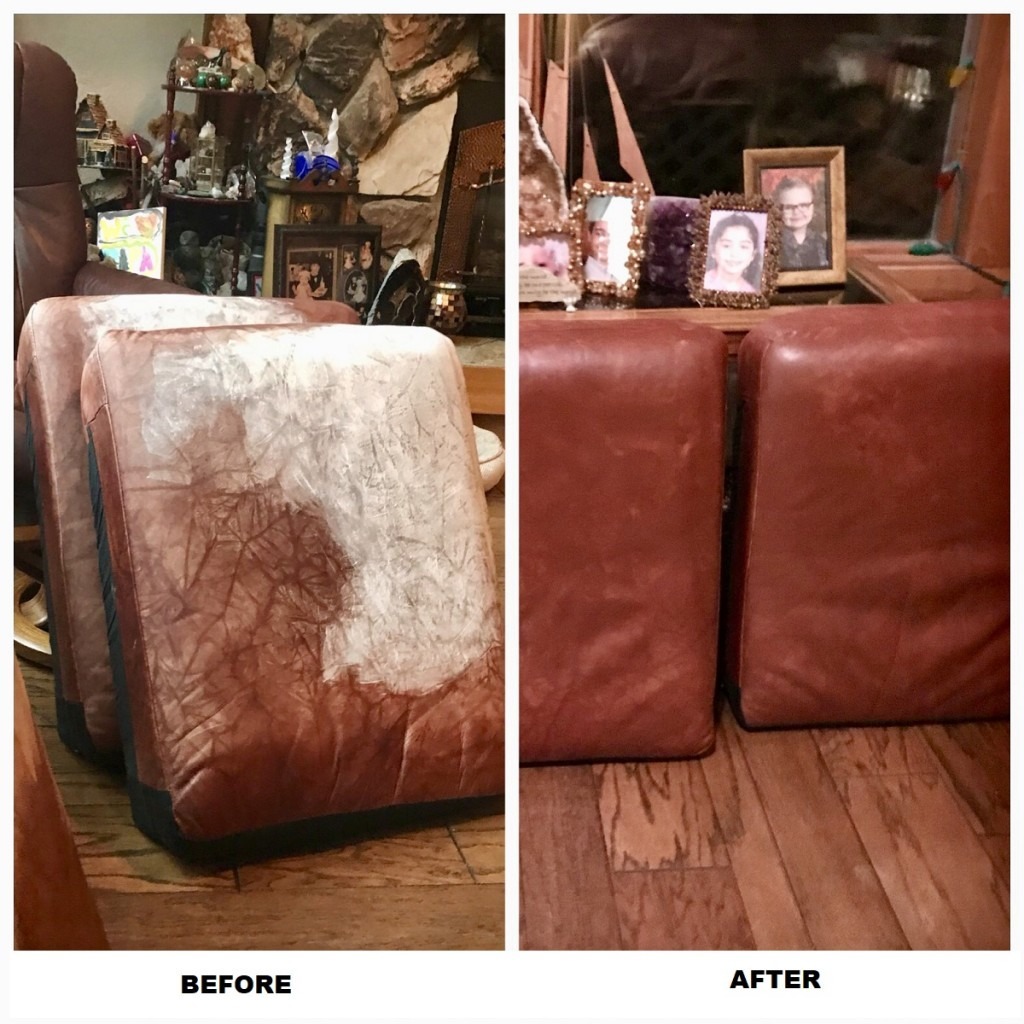
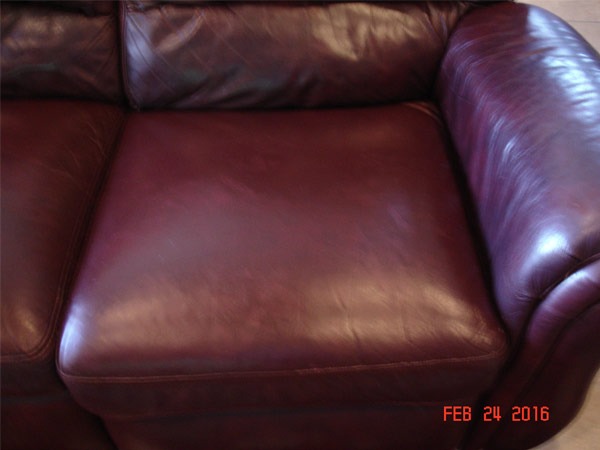
When applying dye over the filler, you may need to apply several coats of dye to achieve full and complete coverage. If the area appears to be lighter and/or you can see the filler showing through the dye, apply more coats of dye until the filler is fully covered.
For optimum results, try not to “overapply” the filler (lumpy/messy ). You can always apply more coats after the filler dries if needed! Take your time; repairs should never be rushed!


Follow Us!